This post may contain affiliate links.
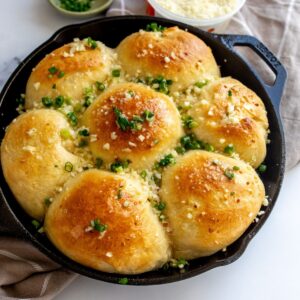
Fluffy, buttery Garlic Rolls with minimal steps and delicious, deep garlic flavor. These rolls will be a family tradition. They are stuffed full of fresh garlic flavor that will keep you coming back for seconds.

Why Make These Garlic Rolls
- Minimal Ingredients. No weird additives.
- You can easily make them dairy free if needed.
- They are easy to make, practically fool-proof. These rolls are ready fairly quick, and they are packed with yummy garlicky, butter and parmesan flavors. They are so fluffy and soft on the inside you will want these rolls weekly.
Try my Jalapeño Cornbread if you want something a little spicier!
Ingredients Notes

- All Purpose Flour. This is the base of the rolls. Be sure when measuring you are leveling the cup.
- Fast Acting Yeast. Be sure to grab a few packets of yeast! In some cases, the yeast can be a “dud” and not be active so always make sure you have a few on hand when using.
- Sugar. Sugar is used to help things rise and feed the yeast.
- Butter. I use salted butter. This needs to be at room temperature so be sure to get it out before starting the process. Dairy free alternative butter will also work.
- Milk. I used 2 % milk but any milk will work fine. If you want to use an unsweetened nut milk to make it dairy free that will be fine.
- Eggs. You will need one egg and one egg yolk.
- Seasoning. You will need salt, and italian seasoning.
- Parmesan. This is optional but it goes SO well with the garlic butter.
- Garlic. You will need 3-4 fresh garlic cloves. They will need to be minced or pressed for ultimate garlic flavors.
- Fresh Parsley. For garnish and color.
Recipe Variations
- Butter. You can use plant based butter in place of dairy butter.
- Milk. Unsweetened dairy alternative milk will also work. The rolls will have a slightly different texture but will be very good.
- Yeast. Any fast acting yeast will work.
Steps To Make This Recipe

- Step One. Add 1/4 cup of warm water to a bowl (do not use hot water, heat if needed and then let it cool!) Dissolve 1 teaspoon of sugar into the ¼ cup of warm water at 110°F-115°F. Stir in 2 ¼ teaspoons of dry active yeast. Within minutes the yeast SHOULD be bubbling, foamy and activating. If it’s not doing anything, you will need to toss that packet of yeast and use a new one.
- Step Two. In a stand mixer or with a hand mixer, cream room temperature butter and sugar. Add egg and egg yolk, warm milk (make sure it’s not too hot just warmed) and mix for a few minutes. Add in the proofed (activated), foamy yeast mixture.
- Step Three. Pour in flour and salt. Mix for 5-7 minutes. the dough will start to form and will no longer stick to the sides of the bowl, Add 1-2 Tablespoon of flour, if needed and the mix is too sticky.
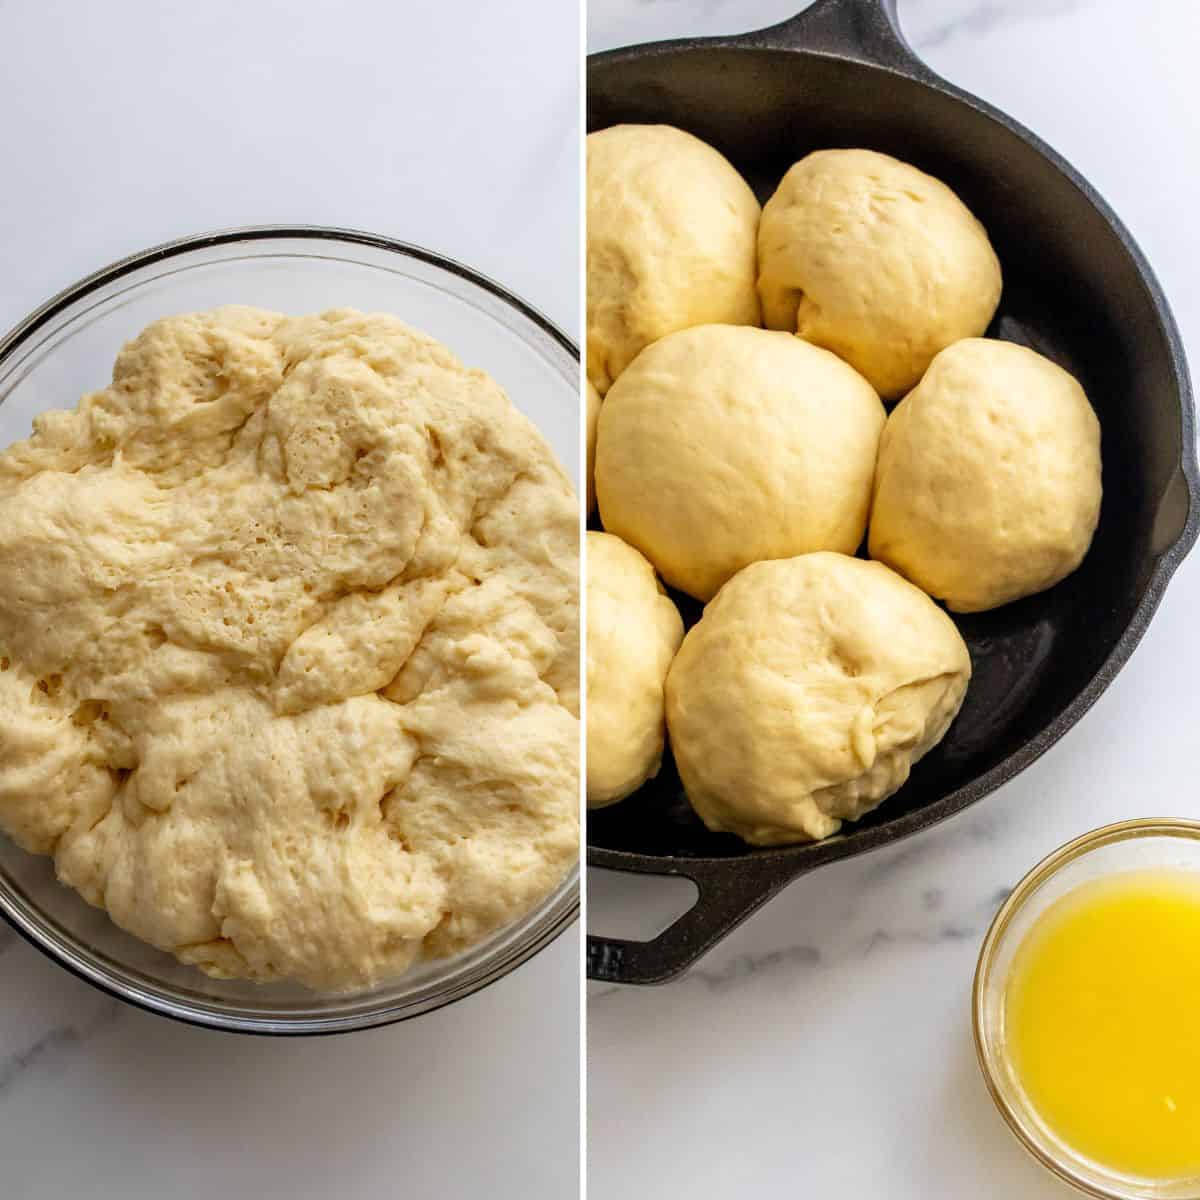
- Step Four. Cover bowl with plastic wrap and set aside to rise in a warm place until double in size, about 1-2 hours. You can also set the oven to 170º (or lowest temp allowed on the oven) and place the dough in there for 45 minutes – 1 hr. Make sure it is still covered so dough doesn’t dry out in spots.
Steps After The First Rise
- Step Five. Once the dough is doubled in size, cut out about 7 pieces and roll with palm on a clean surface. Fold the corners together to form a smooth ball. Place in a 9″ cast-iron skillet or similar style baking dish. They should be close together to ensure the rolls rise upward and form a proper shape. Once assembled in baking dish or cast iron, cover it again with plastic wrap and let them rise 45 minutes more while you make the butter. Preheat oven to 350º when they have risen once more.
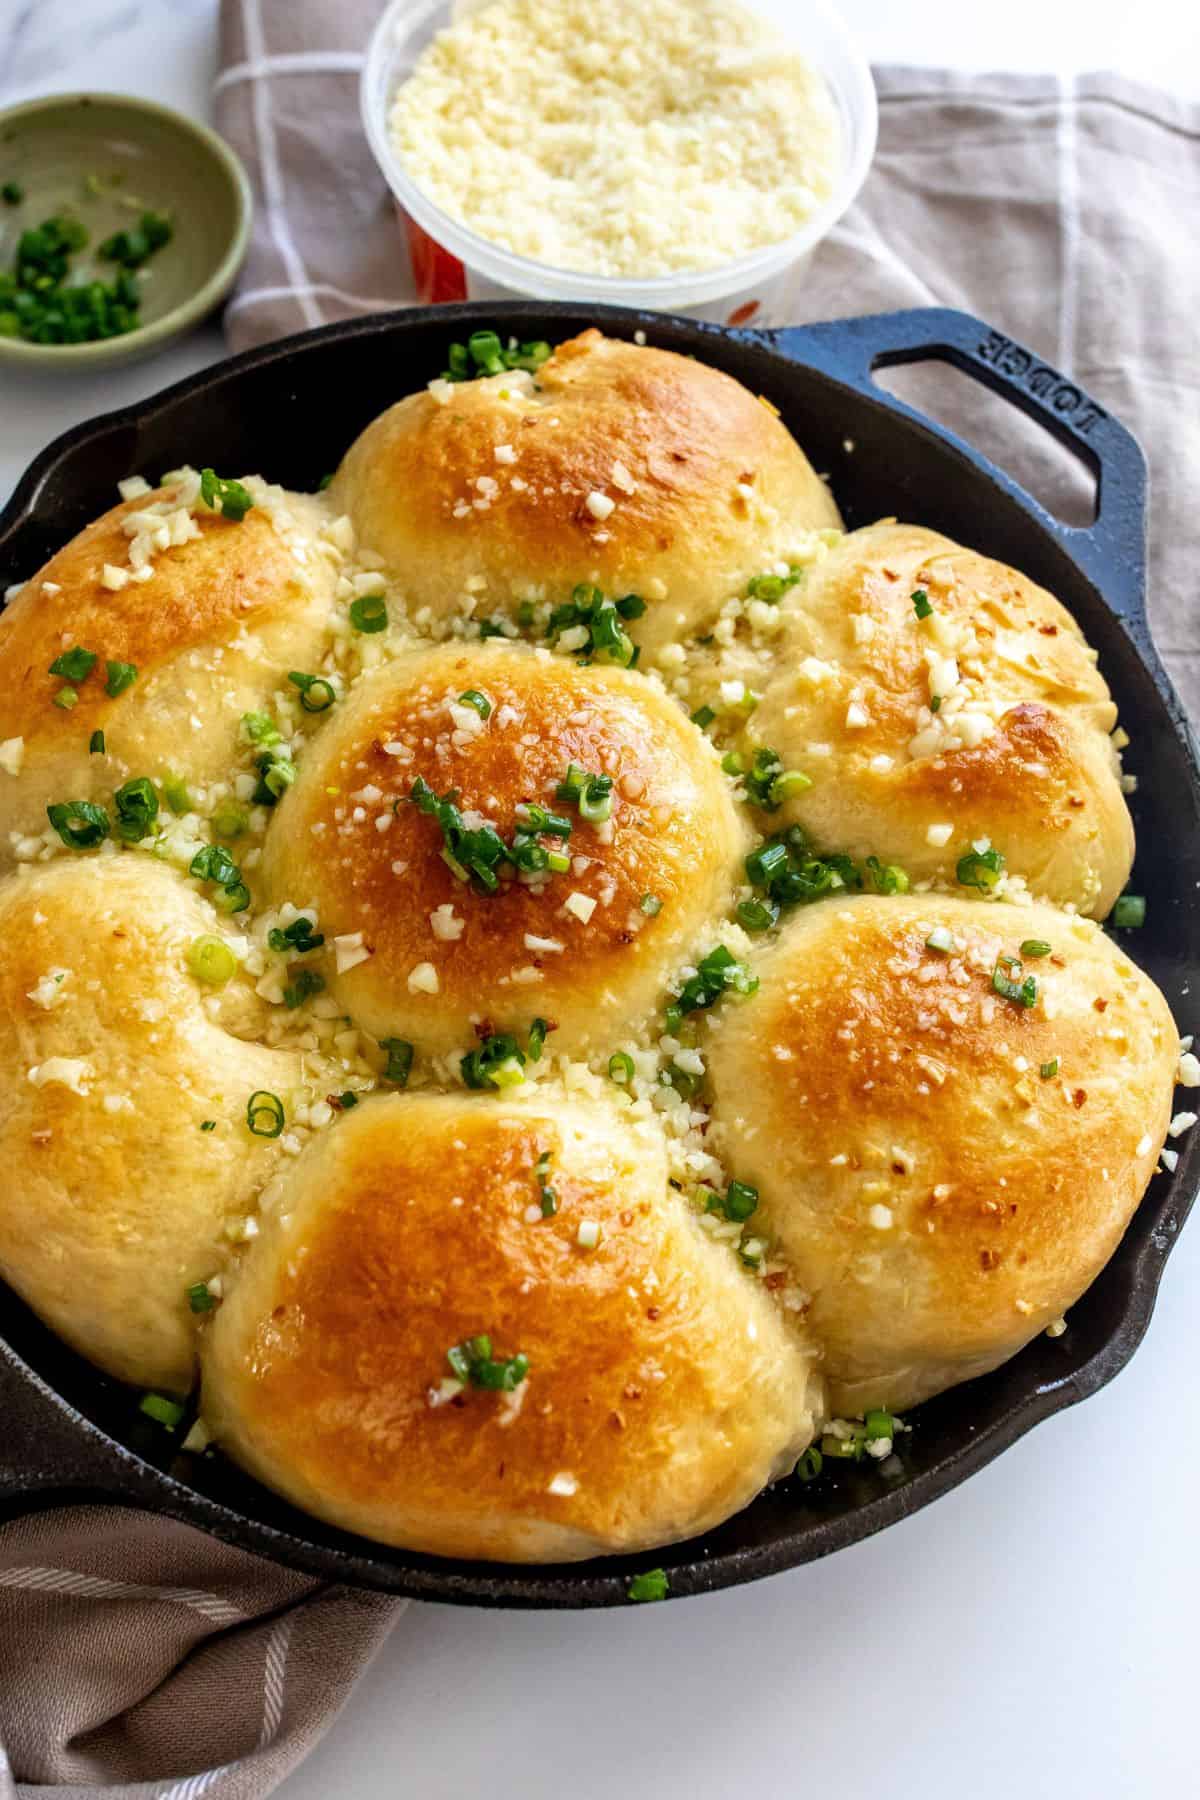
- Step Six. In a small bowl, melt leftover butter and add minced or pressed garlic to the butter. Add a pinch of salt and about 1/2 tsp Italian seasoning and the Parmesan. Brush the rolls lightly with the butter, place in the oven and bake for about 15 – 18 minutes. Keep a close eye on them, each batch is a little different with browning!
- Step Seven. Once the rolls are fragrant and browned on the top, pull them out and brush them with the butter until butter is gone and soaked into the rolls. Sprinkle with fresh parsley and enjoy!
Recipe Tips
- Make sure to have a few instant yeast packets on hand! Sometimes the yeast can be stale and not active if it’s older or if it’s damaged.
- Be sure that the water and milk are just warm and not scolding hot!
- Be sure to keep an eye on them in the oven, you don’t want to overcook the rolls.
Storage Tips
These rolls will keep up to 5 days in an airtight container. To reheat read the FAQ above! You can also freeze these rolls for up to 2 months in an airtight container.
Make ahead: Once the rolls are shaped and snuggled into the cat iron, cover the top tightly with plastic wrap and refrigerate overnight. The next day, let them double in size at room temperature, or somewhere warm before baking. Please note, this can take a few hours to get them to rise.
Freezer: After baking, remove the rolls from the pan and let them cool down. Transfer them to an airtight container for one month.
Recipe Pairings
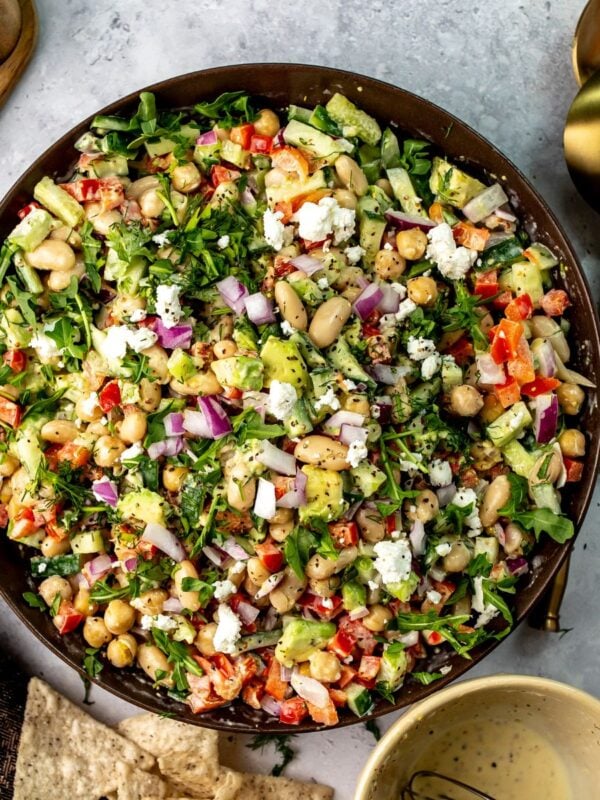
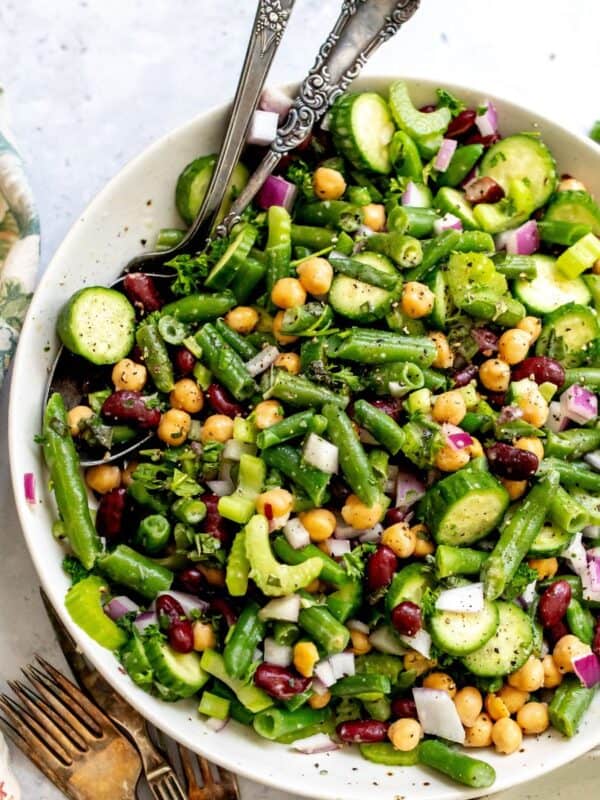
These rolls are great with my Blackened Fettuccine Alfredo or you can pair them with my Kale and Beet Salad. They are also wonderful to use as a sandwich roll with Curried Chicken Salad loaded in the middle.
Other Side Dish Recipes To Consider
Side Dishes
Pan Fried Feta With Hot Honey
Appetizers
Salmon Hand Rolls
Appetizers
Baked Goat Cheese Dip
Appetizers
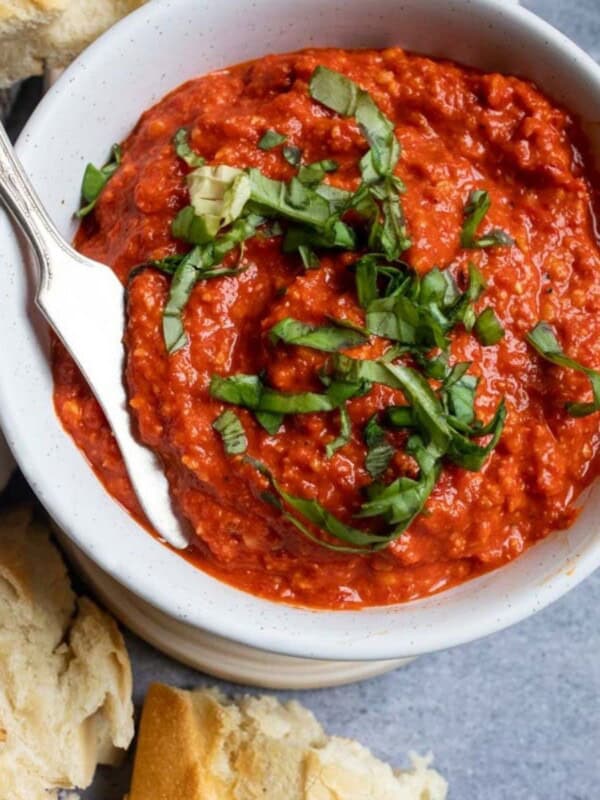
Easy Red Pepper Dip
If you loved this recipe let me know! Also, follow me on Instagram & Pinterest for even more fun recipes to make you feel good from the inside out. Thanks for being here.
Garlic Rolls
Equipment
- stand mixer or hand mixer
- 9" cast iron skillet or similar sized baking dish
Ingredients
For the yeast
- ¼ cup warm water, *not too hot!
- 1 tsp white granulated sugar
- 2¼ tsp fast acting yeast, *see notes
Dough
- ¼ cup butter, room temperature
- 2 Tbsp white sugar
- 1 egg
- 1 egg yolk
- ⅓ cup warm milk, *see notes
- 1 tsp warm milk , in addition to the ⅓ cup
- 2⅓ cup all purpose flour
- 1 tsp sea salt
Garlic Butter
- 5-6 Tbsp butter
- 4 garlic cloves, grate or pressed
- 1 tsp Italian seasoning
- 1 tsp fresh parsley, chopped
- 1 Tbsp Parmesan , for sprinkling over the rolls
Instructions
For The Yeast
- Add 1/4 cup of warm water to a bowl (do not use hot water, heat if needed and then let it cool!) dissolve 1 teaspoon of sugar into the ¼ cup of warm water at 110°F-115°F. Stir in 2 ¼ teaspoons of dry active yeast. Within minutes the yeast SHOULD be bubbling, foamy and activating. If it's not doing anything, you will need to toss that packet of yeast and use a new one.
For The Dough
- In a stand mixer or with a hand mixer, cream room temperature butter and sugar. Add egg and egg yolk, warm milk (make sure it's not too hot just warmed) and mix for a few minutes. Add in proofed (activated) foamy yeast mixture.
- Pour in flour and salt. Mix for 5-7 minutes. The dough will start to form and will no longer stick to the sides of the bowl, Add 1-2 Tablespoon of flour, if needed and the mix is too sticky.
- Cover bowl with plastic wrap and set aside to rise in a warm place until double in size, about 1-2 hours. You can also set the oven to 170º (or lowest temp allowed on the oven) and place the dough in there for 45 minutes – 1 hr. Make sure it is still covered so dough doesn't dry out in spots.
- Once the dough is doubled in size, cut out about 7 pieces and roll with palm on a clean surface. Fold the corners together to form a smooth ball. Place in a 9" cast-iron skillet or similar style baking dish. They should be close together to ensure the rolls rise upward and form a proper shape. Once assembled in baking dish or cast iron, cover it again with plastic wrap and let them rise 30 minutes -45 min more while you make the butter. Preheat oven to 350º when they have risen once more.
- In a small bowl, melt leftover butter and add minced or pressed garlic to the butter. Add a pinch of salt and about 1/2 tsp Italian seasoning (optional). Brush the rolls lightly with the butter, place in the oven and bake for about 15-18 minutes. Keep a close eye on them, each batch is a little different with browning!
- Once the rolls are fragrant and browned on the top, pull them out and brush them with the butter until butter is gone and soaked into the rolls. Sprinkle with fresh parsley, parmesan and enjoy!
Notes
- Make sure to have a few instant yeast packets on hand! Sometimes the yeast can be stale and not active if it’s older or if it’s damaged.
- Be sure that the water and milk are just warm and not scolding hot!
- Use a stand mixer. Kneading the dough in a stand mixer is much easier than kneading by hand. If you knead it by hand, note that it may take longer to get to a smooth, finished dough ball.
- Shape uniform rolls. Aim for every roll to be close to the same size to ensure even baking.
- Be sure to keep an eye on them in the oven, you don’t want to overcook the rolls.
Nutrition
Nutrition information is automatically calculated, so should only be used as an approximation.
Made these for my family tonight they were scrumptious. I can’t believe I was able to follow this recipe, my family was shocked I had homemade rolls for them. Thank you for making me feel good in the kitchen, can’t wait to try your overnight bread next.