This post may contain affiliate links.
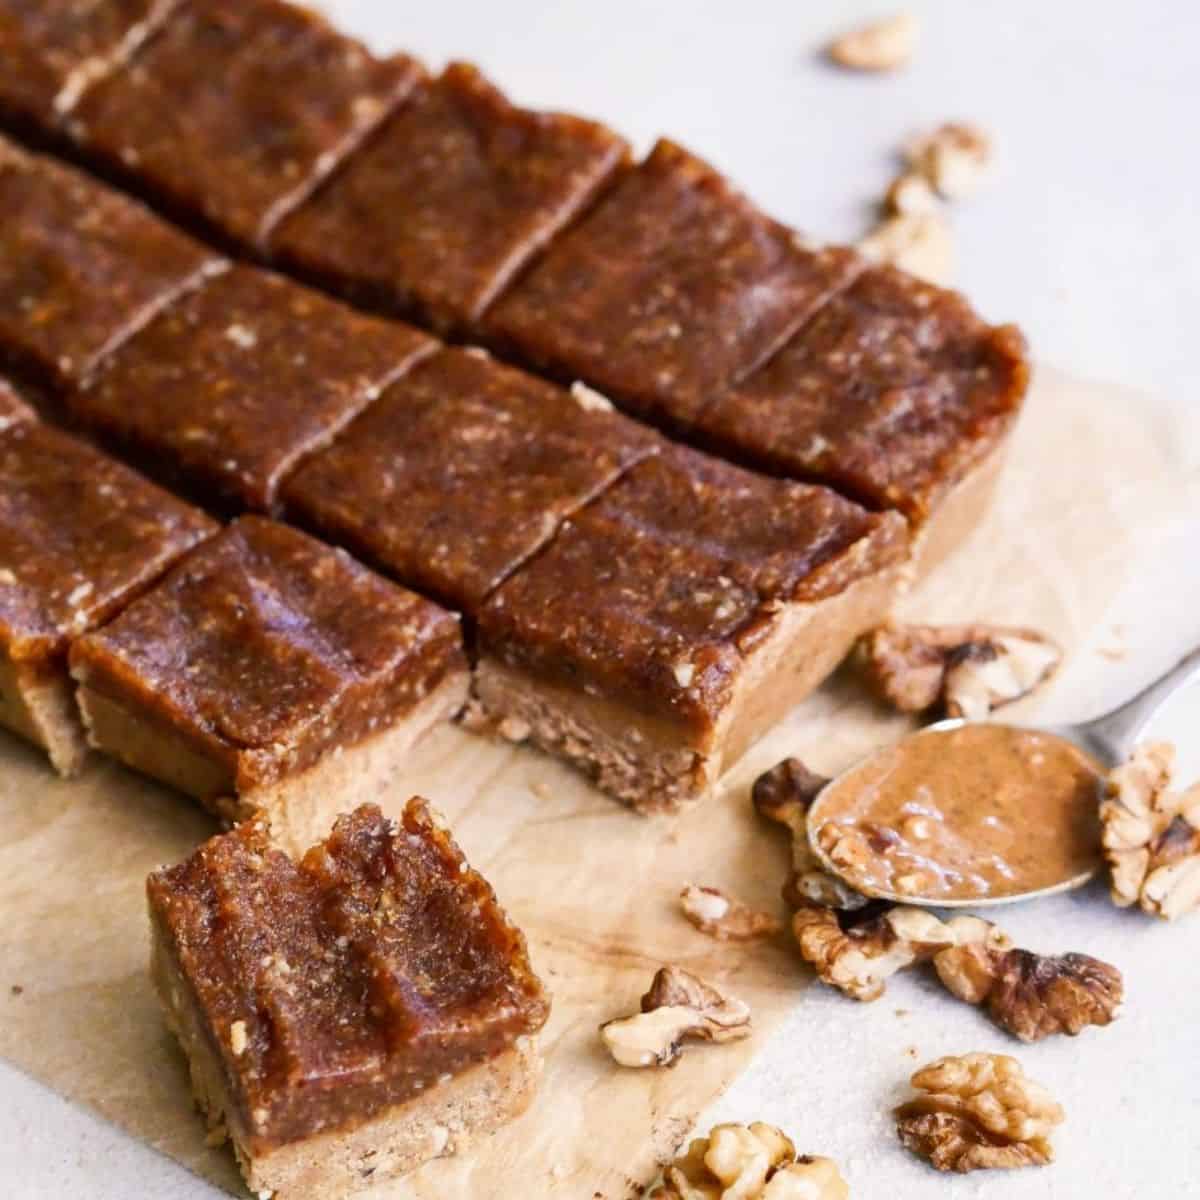
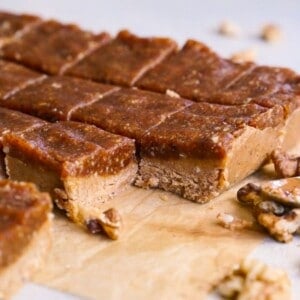
These chewy no bake blondies are a summer favorite. Perfect healthy date bars, minimal ingredients and delicious!
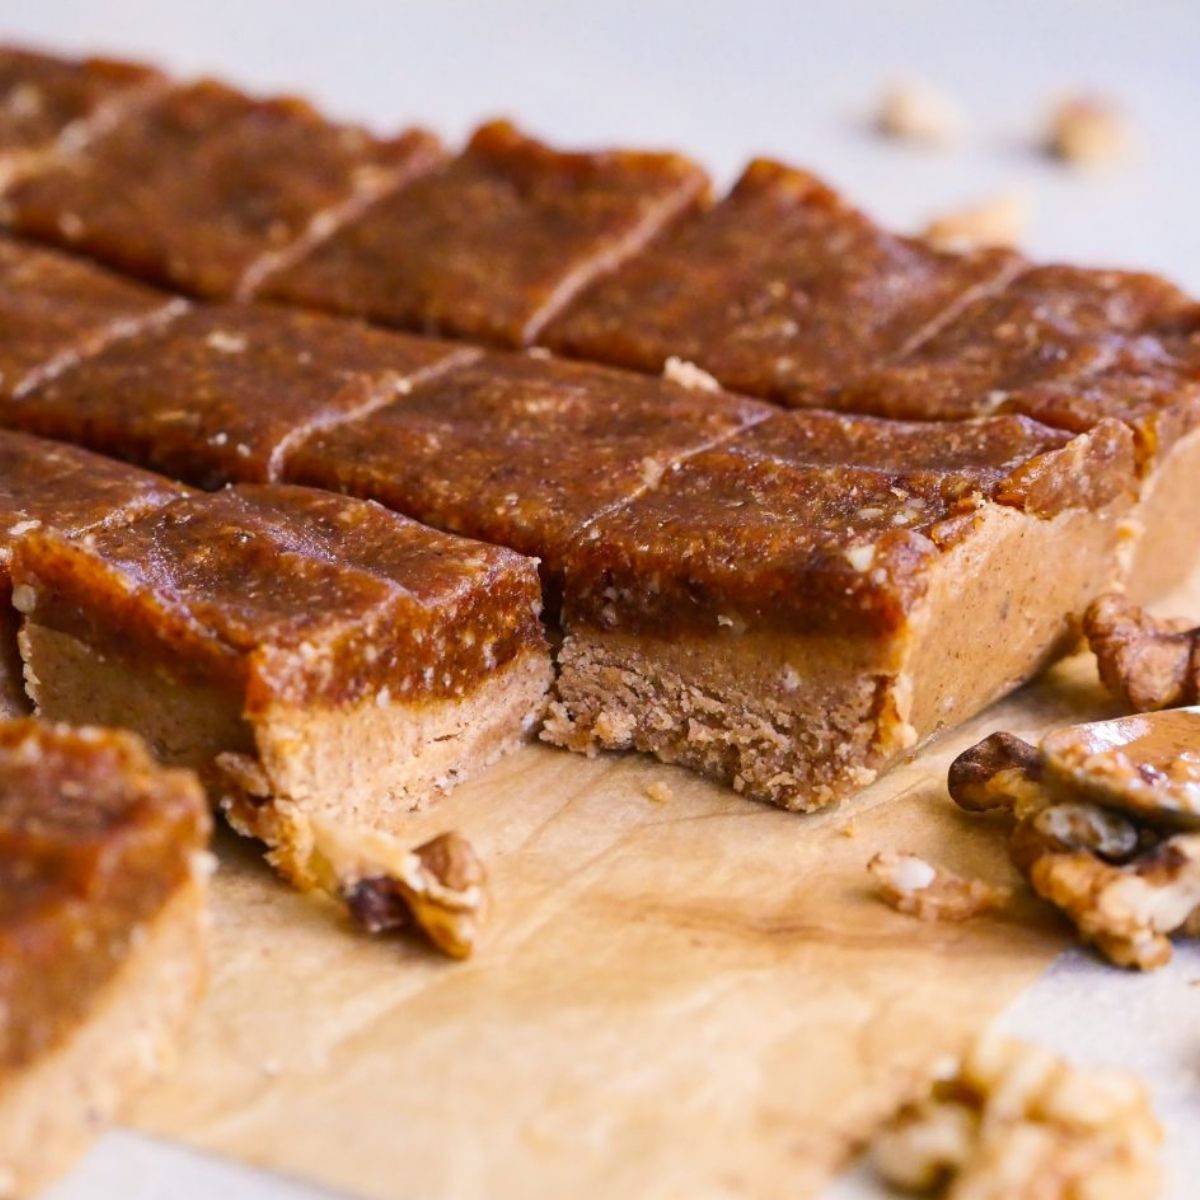
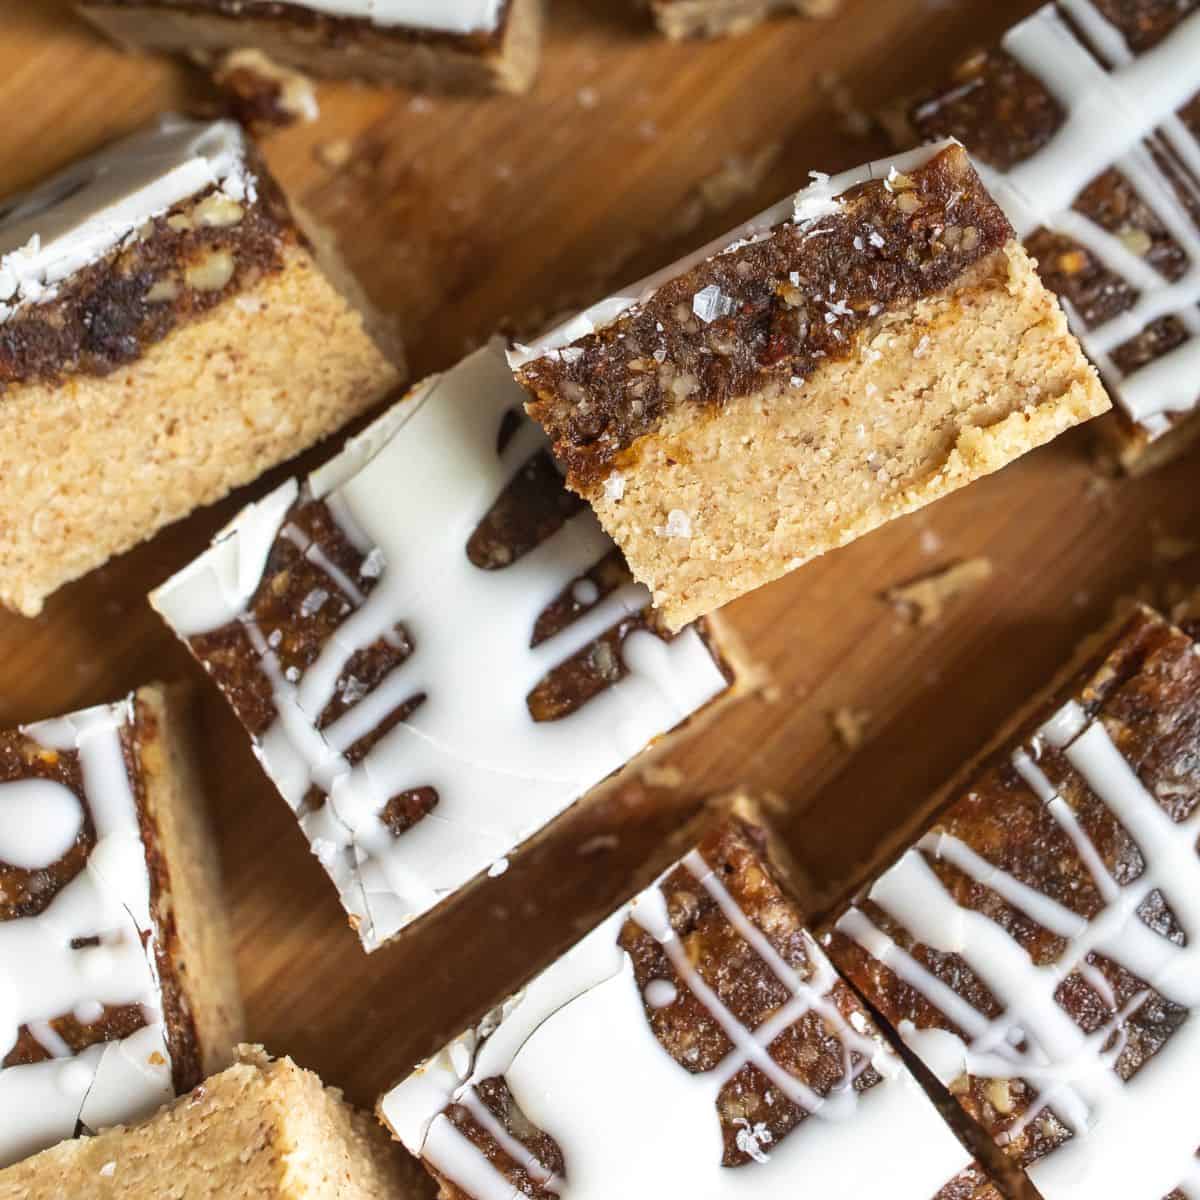
These no bake blondies remind me of a candy bar in some sweet and salty way. The texture is soft and chewy. The dates give it such a balanced sweetness similar to a caramel flavor (do I have your attention yet?) There are walnuts in these no bake blondie bars so they have a nice nutty flavor and texture. Matt and I have eaten 3 batches since I first whipped them up. I am already planning on making another batch shortly.
Why Make These Chewy No Bake Blondies
These blondies are so easy to make and you don’t need to turn on your oven at all!
They are allergy friendly. They are plant based and gluten-free. There are no added sugars. They get their sweetness from maple syrup and dates!
These blondie bars only take about 10 minutes to whip up. I prefer them in the refrigerator but they do great in the freezer as well. If you refrigerate they will last about a week. If you freeze them they will last much longer. Just keep them in an airtight container. The maple syrup offers such a great sweetness with the walnuts.
Ingredients For These Chewy No Bake Blondies

Almond Flour. This gives the bottom layer a nice firm texture but it doesn’t harden too much making it easier to bite.
Almond Butter. This is a nice mild flavor so you can still taste the dates and walnuts. Peanut butter will also work but the peanut butter will be more flavorful and take away from the dates.
Coconut Oil. This needs to be melted to blend in with the almond flour.
Almond Extract. This adds flavor and makes the bars taste a little sweeter with the vanilla aroma.
Maple Syrup. This is what adds the nice nutty sweetness to bring things together with the flavors.
Salt. Salt makes everything come together and adds the perfect pop to the flavor.
Walnuts. You can use a different but if you prefer but be sure it’s one thats easy to bit through!
Dates. This is the main sweeter for this recipe.
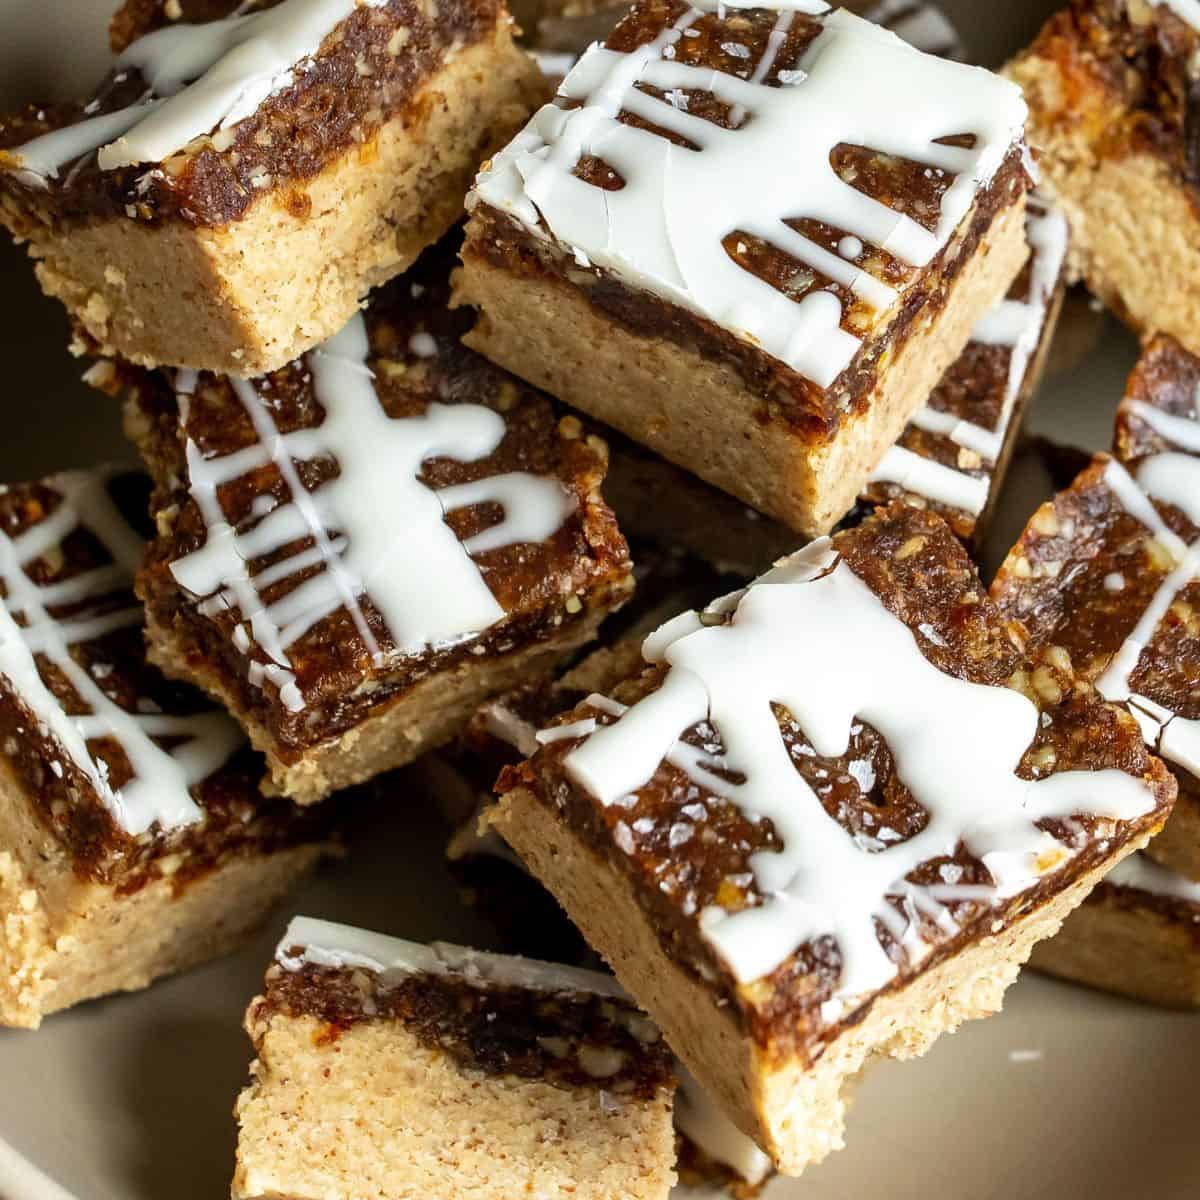
White or Milk Chocolate Chips. This is optional! The bars are excellent with out the drizzle of chocolate but the drizzle makes them so much more sweet and dessert like.
How To Make This Recipe

Step One. Mix up the base layer, almond flour, almond butter, melted coconut oil, maple syrup and vanilla extract. Line a bread loaf pan with parchment paper. Press the base layer down into the pan, be sure it’s even and not overly lumpy. Place in the freezer while you finish the next steps.
Step Two. Soak the dates if they are dried out, I add them to a bowl of boiling water for about 5 minutes, let them cool and then pit them. Fresh dates are sticky and easy to manipulate otherwise.
Step Three. In a food processor, add walnuts, salt and dates. Pulse on high until everything is chopped and blended into a sticky paste.
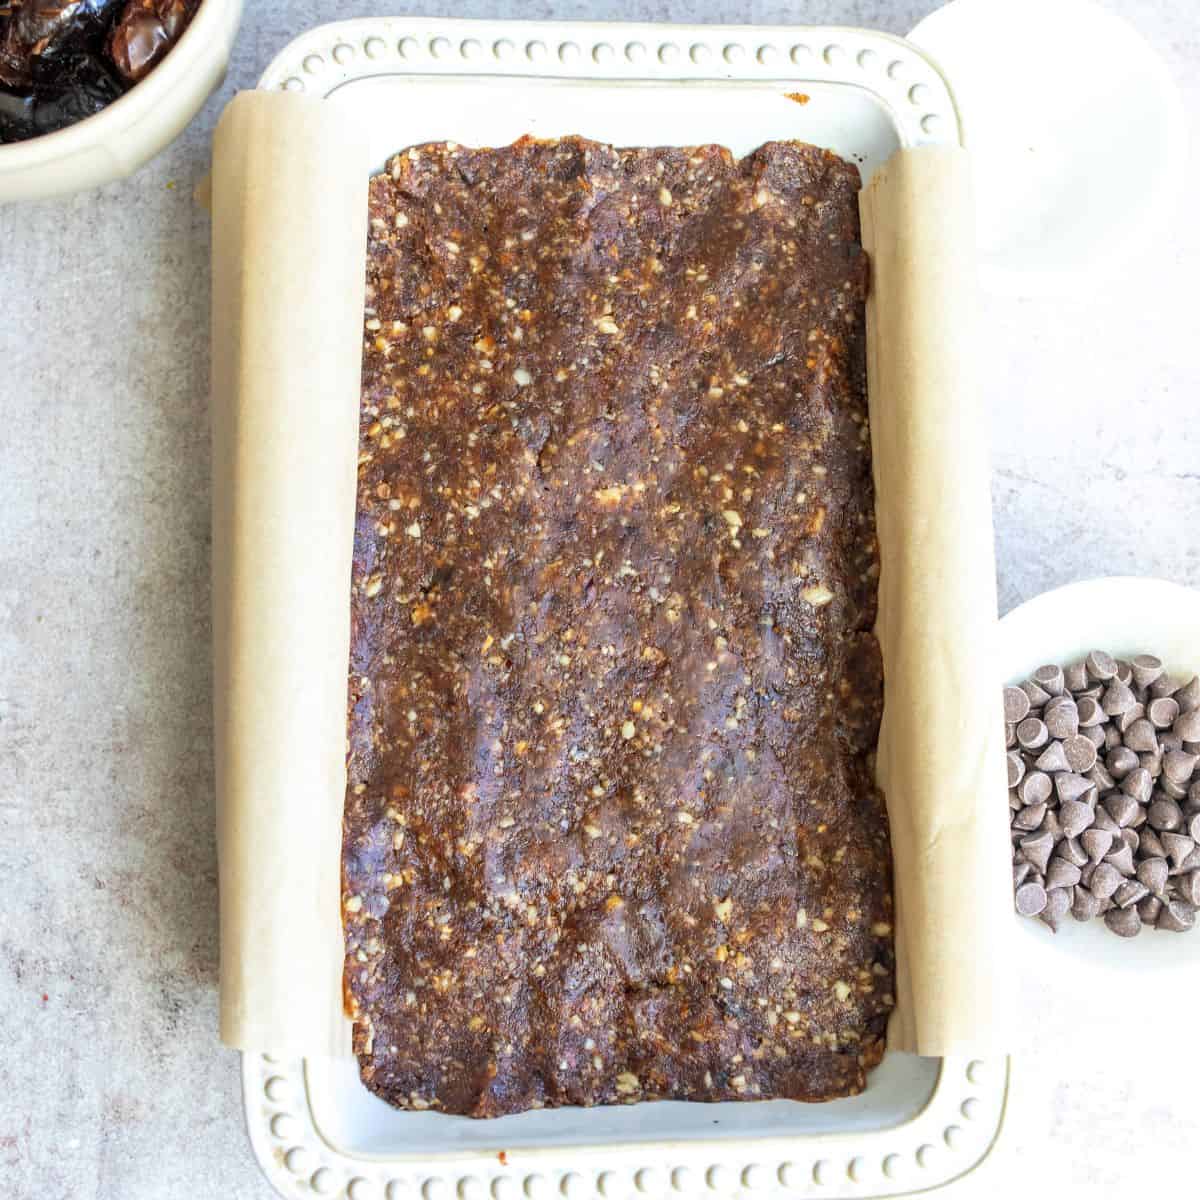
Step Four. Pull the almond mix from the freezer. Press the sticky mix to the almond flour base, I break it apart and evenly disperse it, then press it all together. Do your best to make it nice and smooth. Pop into the freezer again while making the chocolate drizzle (about 10 minutes)
Step Five. Add chocolate or white chocolate chips to a microwave safe bowl, add in coconut oil and heat on medium for about 45 seconds, stir and reheat until it’s melted and smooth. Drizzle over bars. let it set, slice and enjoy.
I always recommend clipping parchment paper to the sides of a bread loaf tin when you are baking bread or using any batter at all. The payment paper keeps this in once piece, its easier for clean up and the clips hole the paper up while you press or pour any batter in!
You will be freezing this recipe in two parts, so make sure you give yourself a little time to get the first layer set. I also always recommend finding a flat spot in the freezer to set the bread loaf tin. Its never fun opening the freezer and realizing you have no where to put the dish!
Make Ahead & Storage Tips
I prefer them in the refrigerator but they do great in the freezer as well. If you refrigerate they will last about a week. If you freeze them they will last much longer. Just keep them in an airtight container or ziplock.
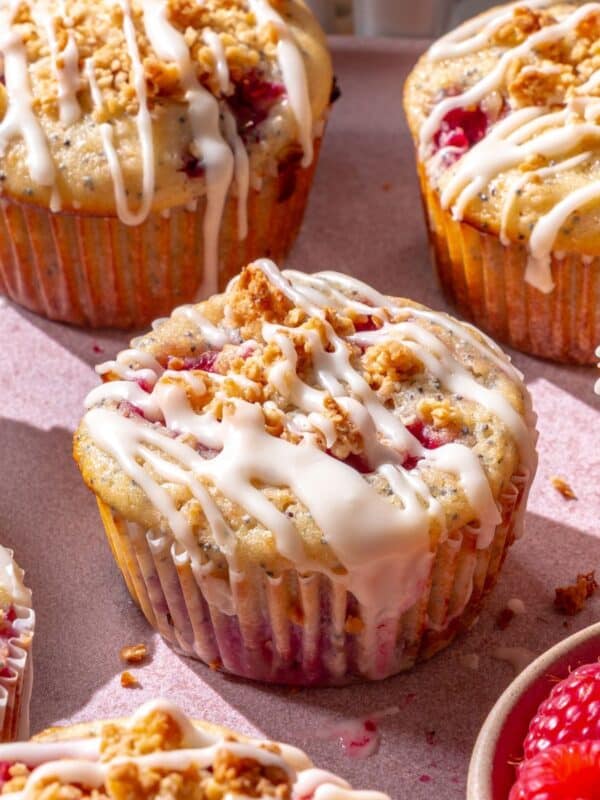
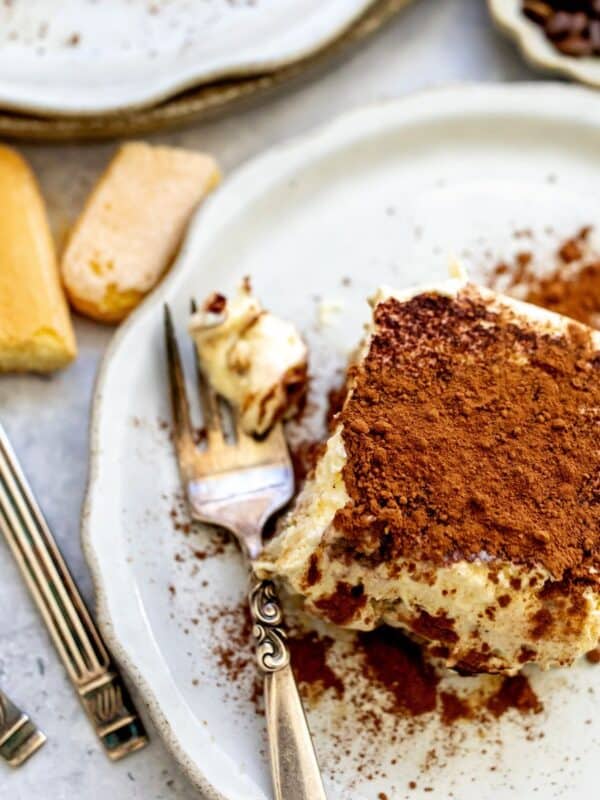
Other Dessert Recipe To Try
If you loved this recipe let me know! Also, follow me on Instagram & Pinterest for even more fun recipes to make you feel good from the inside out. Thanks for being here.
No Bake Blondie Bars
Ingredients
Base Layer
- ½ cup Almond Butter
- ¼ cup coconut oil (melted)
- 2 cup almond flour
- 2 tbsp vanilla extract
- ¼ cup maple syrup
- 2 tbsp maple syrup , (yes both this and the ¼ cup for extra sweetness)
Top Layer
- ¾ cup raw walnuts
- 10 pitted dates
- ¼ tsp sea salt
Instructions
Base Layer
- In a large bowl mix together the first layer of ingredients (almond butter, oil, maple syrup, vanilla, almond flour). It should have a thick consistancy. Line bread loaf with parchment paper and press the first layer into the bottom of it. It should be as thick as the photos on the first layer. Place into the freezer for 10 minutes while you prepare the second layer in a food processor.
Top Layer
- In a food processor, add all of the above ingredients (walnuts, dates, salt). You may need to re-adjust the mixture a bit with a spatula to ensure it blends together okay. Mixture will be thick and slightly sticky. Once the base layer has hardened a bit, pull it out and gently press the top layer ontop of the base layer. This layer will be much thinner, you will need to work it a bit to get it evenly covered. Place back in the freezer for a few minutes. Pull it out, cut and enjoy.
Nutrition
Nutrition information is automatically calculated, so should only be used as an approximation.
These are SO good. Satisfying, flavorful and such a nice texture. I found them on instagram and made them within 15 minutes. BOOM! So easy! My boyfriend, sister and mom ate them ALL and begged for me to make more the next day. Looks like a keeper for sure! I can’t wait to take these hiking someday! Thank you so much for the healthy deliciousness, Bailey!