
This post may contain affiliate links.
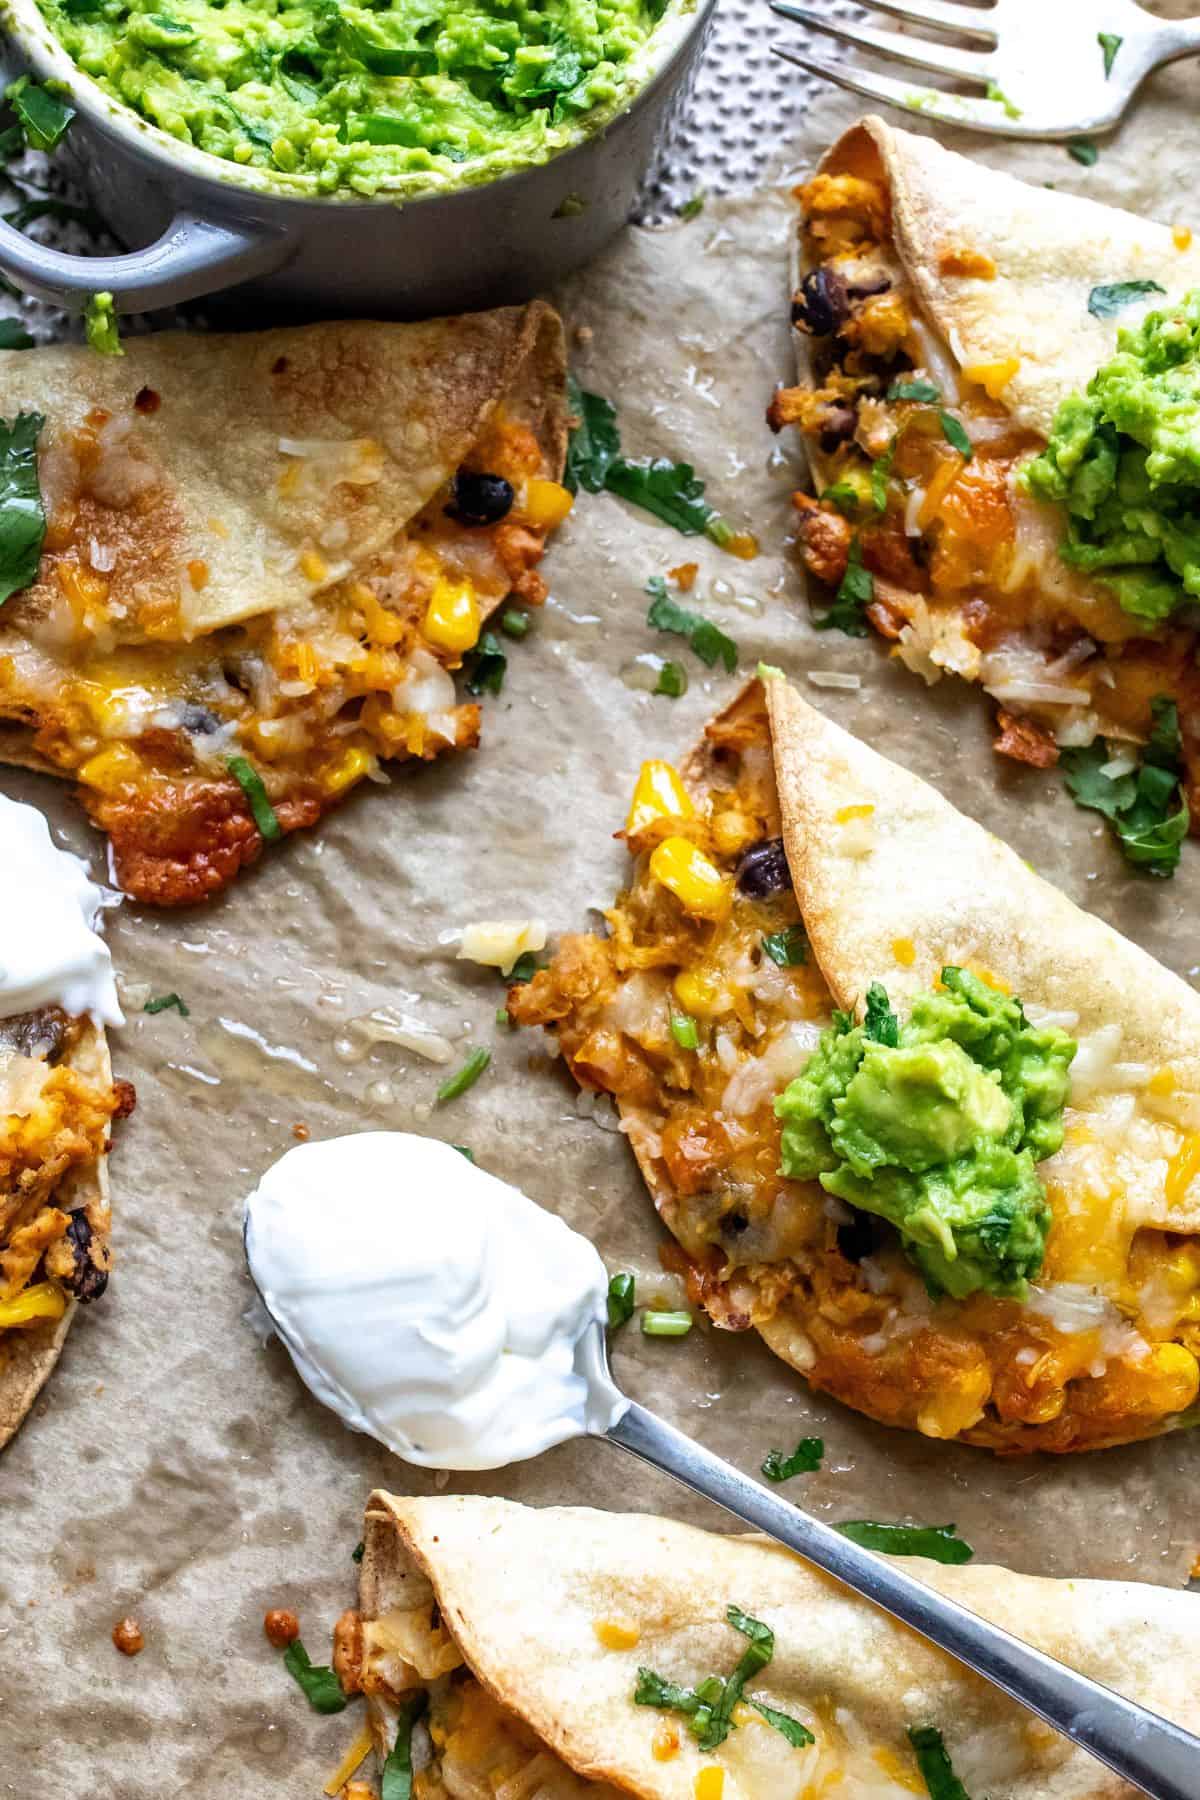
Crispy Chicken Tacos are loaded with creamy salsa verde chicken, black beans, corn, and melty cheese, then baked until golden and seriously crispy. They’re cheesy, a little spicy, and proof that you don’t need a frying pan to get a really good crispy taco.
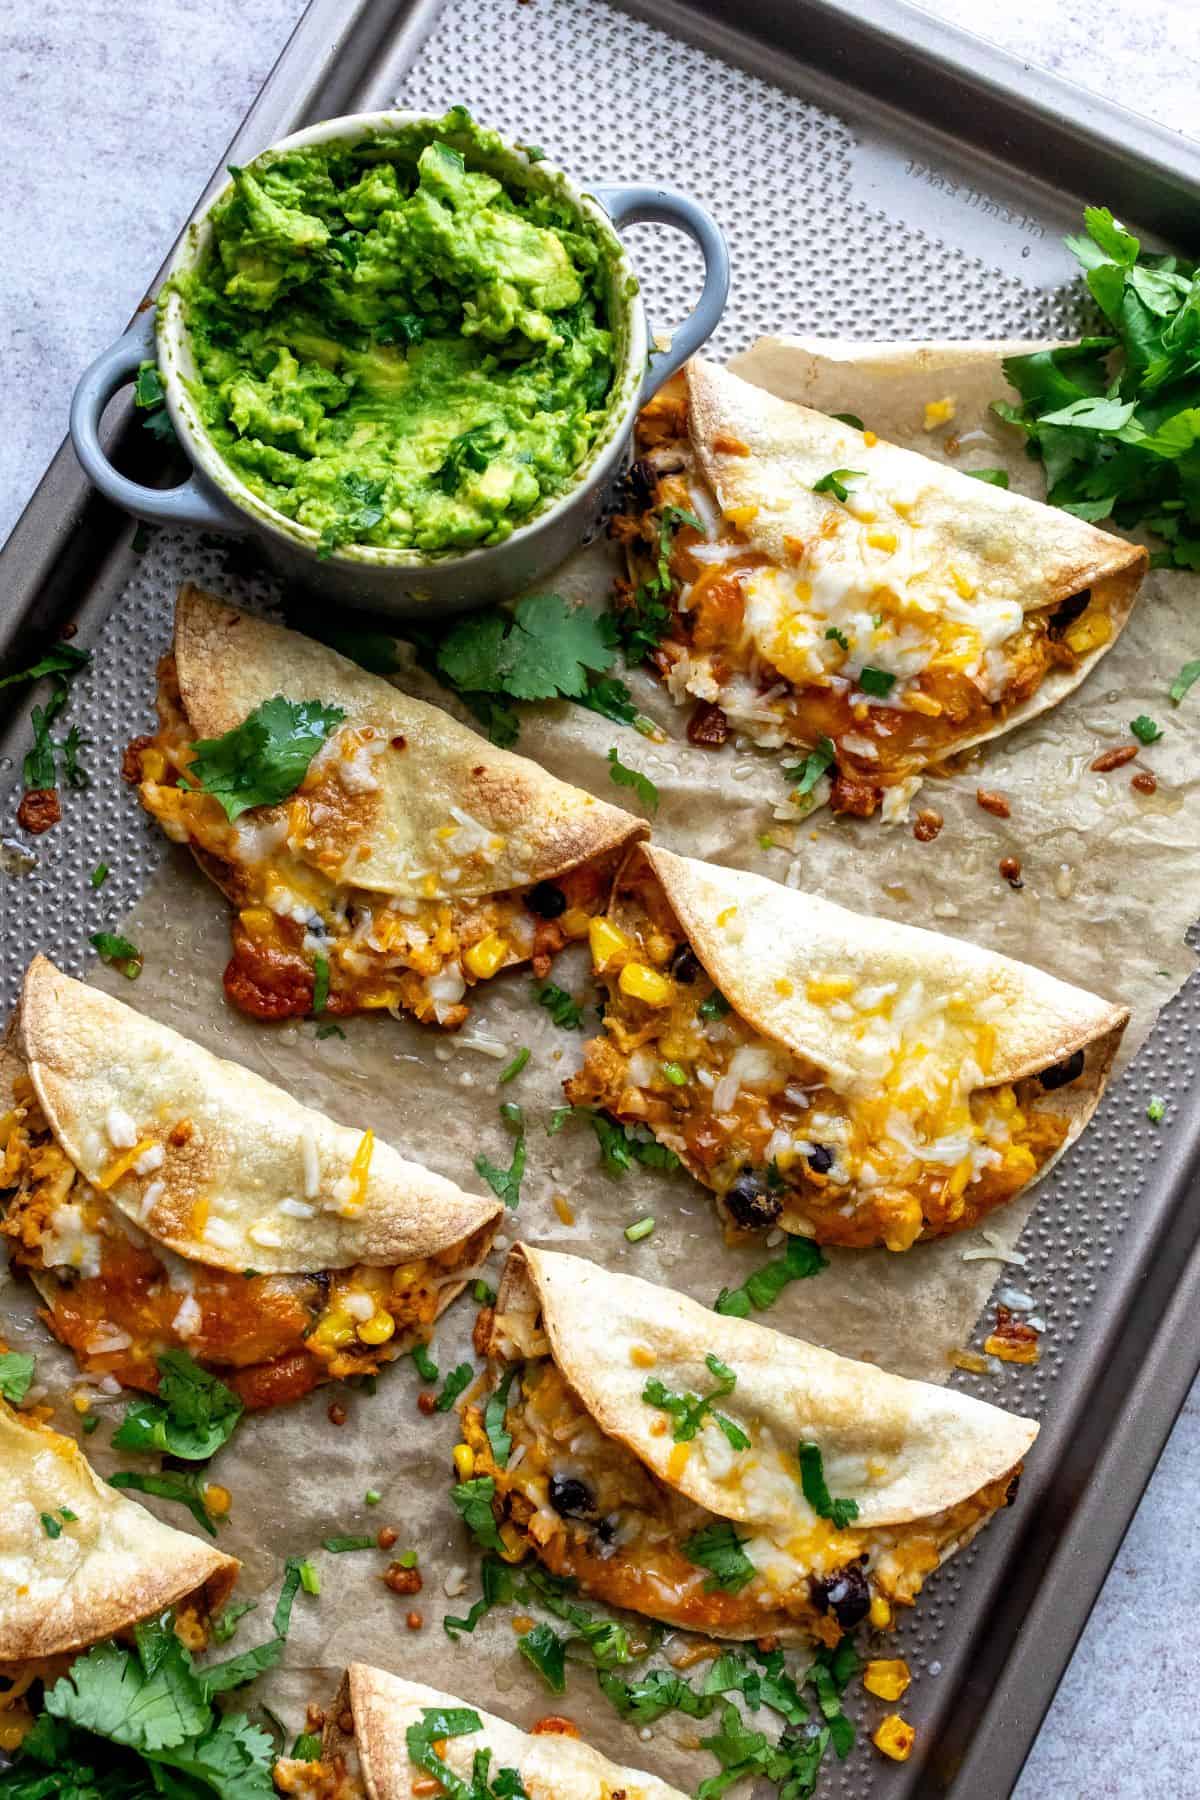
Crispy Chicken Tacos Without the Frying
The crispy shell is what makes these tacos, but I wanted the filling to be just as good. Salsa verde chicken, black beans, corn, cream cheese, and plenty of melty cheese make the inside creamy, a little spicy, and substantial enough that you don’t need much else.
Here’s why I keep making them:
- No frying required. A little oil and a hot oven give the corn tortillas those golden, crispy edges without standing over a skillet.
- The filling isn’t an afterthought. Salsa verde, cream cheese, black beans, corn, and seasoned chicken make it creamy, a little spicy, and honestly good enough to eat straight from the pan.
- Rotisserie chicken makes them ridiculously easy. It’s my favorite shortcut when I want these on the table fast, but any cooked, shredded chicken works.
- You get crispy and creamy in every bite. Crunchy tortillas, creamy chicken filling, and melted cheese give these tacos a really good mix of textures.
Ingredients Worth Talking About
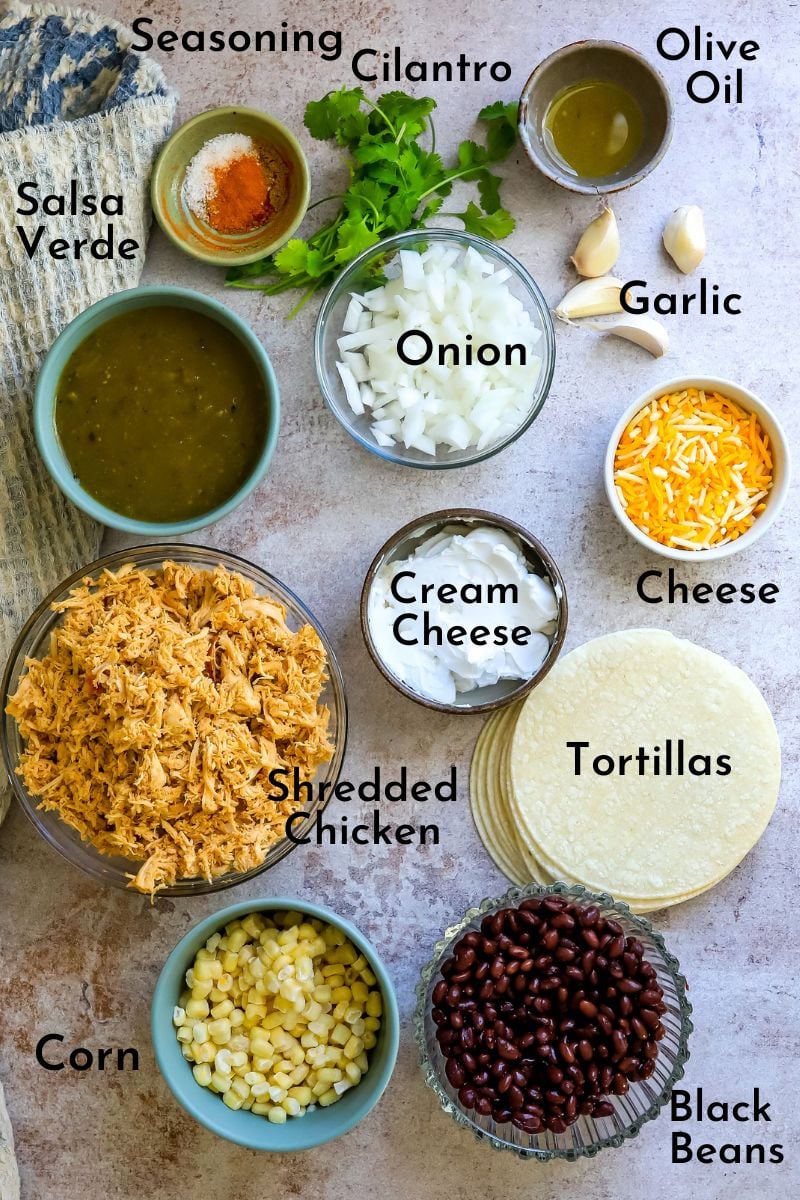
The full ingredient list and measurements are in the recipe card below.
- Shredded Chicken. Rotisserie chicken is my favorite shortcut here, but any cooked, shredded chicken works. This is also a great way to use leftover chicken you already have in the fridge.
- Salsa Verde. This brings most of the flavor to the filling, so use one you really like. I prefer a salsa verde with plenty of flavor and a little heat, but you can easily choose a mild one if you’re cooking for kids or prefer less heat.
- Black Beans and Corn. These make the filling more substantial and add some texture between all that creamy chicken and cheese. Canned black beans work perfectly. Just drain and rinse them. Fresh or frozen corn both work.
- Cream Cheese. A little cream cheese makes the salsa verde filling creamy and helps everything hold together inside the tortilla. Regular or dairy-free cream cheese both work.
- Corn Tortillas. Small corn tortillas give these tacos the crispy shell I’m after. Fresh tortillas make a big difference here since they’re much easier to fold without cracking.
- Shredded Cheese. Cheddar or a Mexican cheese blend both work well. Use something that melts easily because that gooey cheese against the crispy tortilla is one of the best parts.
How To Make Crispy Chicken Tacos
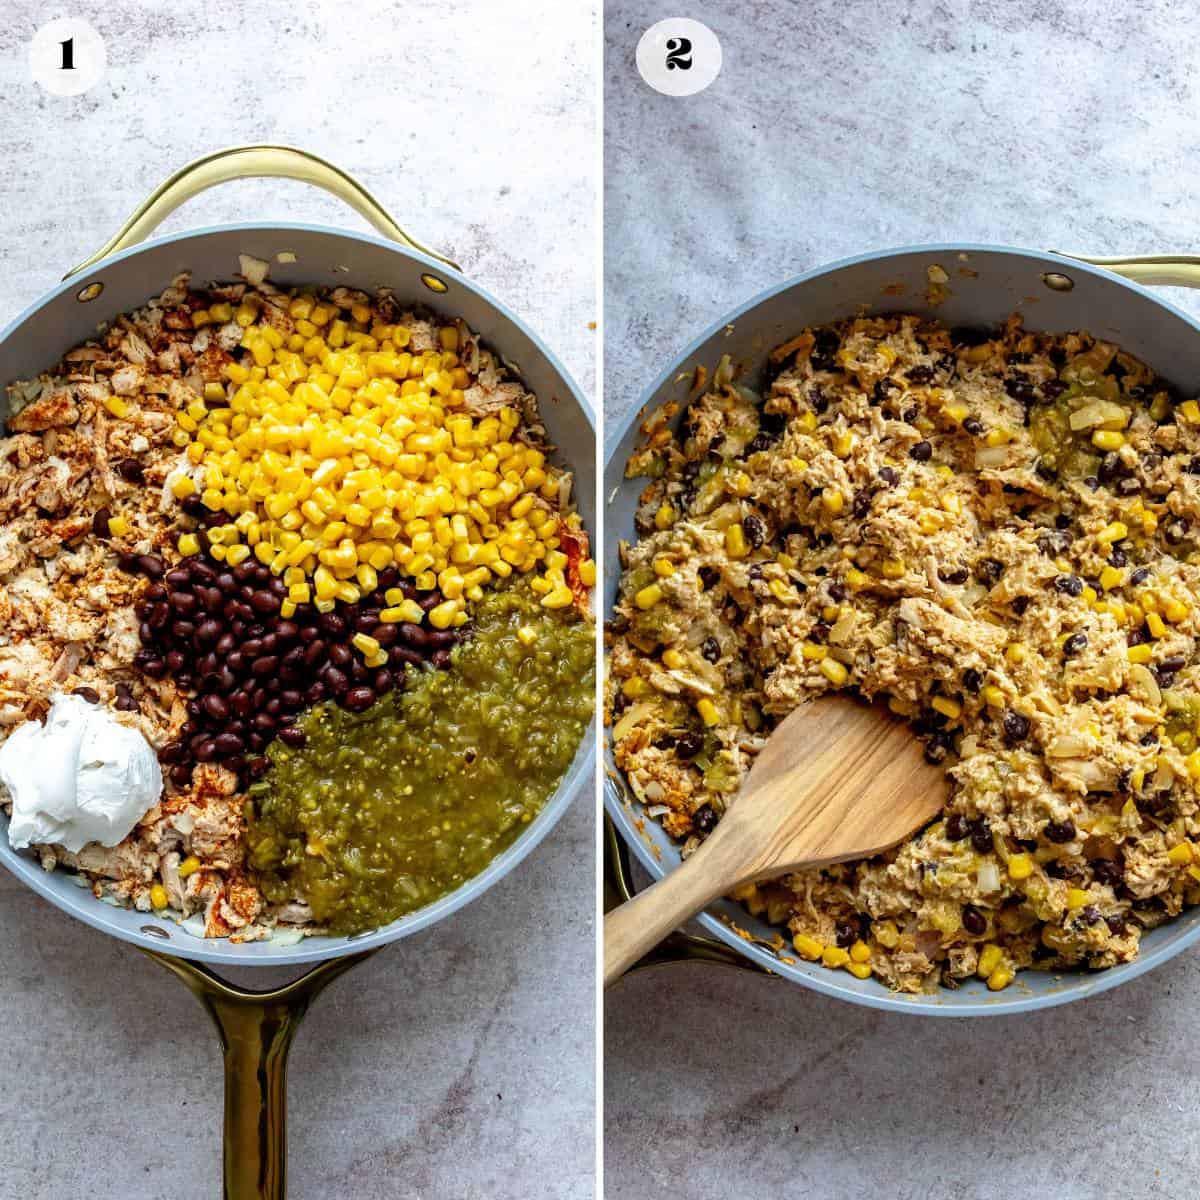
Step 1. Make the chicken filling. Preheat the oven to 400°F. Heat the olive oil in a large skillet over medium heat and sauté the onion until softened. Add the garlic and seasonings, then stir in the shredded chicken, salsa verde, black beans, and corn. Let everything simmer together until heated through and the filling has thickened with no excess liquid in the pan.
Step 2. Add the cream cheese. Reduce the heat to low and stir in the cream cheese until completely melted into the chicken mixture. Remove the skillet from the heat.
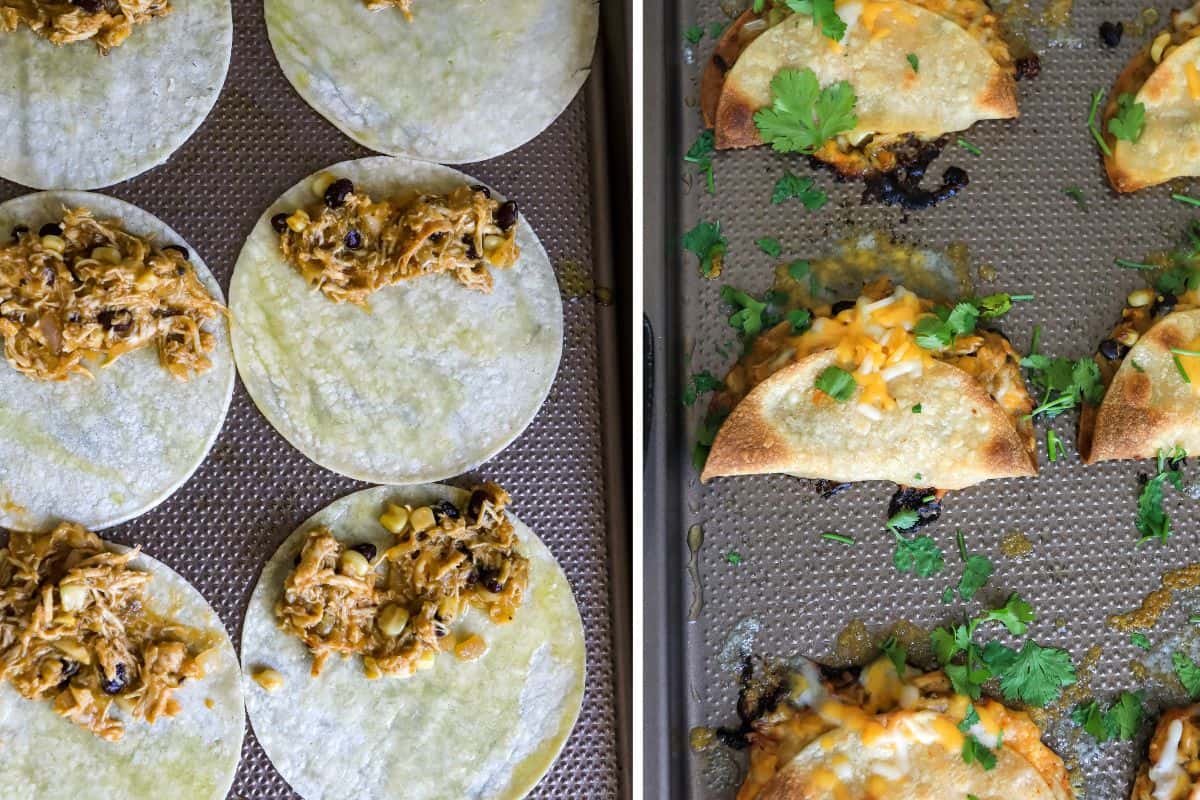
Step 3. Warm the tortillas. Wrap the corn tortillas in a damp paper towel and microwave until they’re warm and very pliable. Work in batches if needed so the tortillas don’t cool down before you have a chance to fold them.
Step 4. Fill and fold. Add a small amount of shredded cheese and chicken filling to one half of each tortilla (about 2 to 3 tablespoons of filling). Fold the other half over and gently press to close. Don’t overfill them. You want enough room for the tortilla to fold without breaking or pushing the filling out.
Step 5. Bake until crispy. Arrange the tacos in a single layer on a lightly oiled sheet pan, leaving a little space between each one. Lightly brush or spray the tops with oil, then bake until the tortillas are golden and crispy and the cheese is melted, about 10 to 15 minutes.
Step 6. Serve right away. Use a spatula to transfer the tacos to a plate and add your favorite toppings. I love avocado, cilantro, jalapeños, extra salsa verde, and a squeeze of lime.
Favorite Dips and Toppings
These tacos have plenty of flavor on their own, but something cool, creamy, or fresh on top is always a good idea. I usually add cilantro and a squeeze of lime, then pick one or two of these:
- Avocado or guacamole. The cool, creamy avocado is especially good with the crispy tortillas and salsa verde filling.
- Sour cream or lime crema. Keep it simple with sour cream, or stir in a little lime juice and zest for a quick crema.
- Extra salsa verde. Use the same salsa from the filling for dipping, especially if you like a little extra heat.
- Pico de gallo. Fresh tomatoes, onion, cilantro, and lime add some freshness without competing with everything happening inside the tacos.
- Pickled jalapeños or onions. My pick if you want something tangy with a little bite.
Keep the Tortillas Crispy (and in One Piece)
Corn tortillas can be a little stubborn, but once you know how to work with them, getting them crispy without cracking is pretty simple.
- Start with fresh corn tortillas. Older, drier tortillas are much more likely to split when folded.
- Get them really warm. Wrap them in a damp paper towel and microwave until hot and pliable. If they cool while you’re assembling, warm them again rather than forcing them to fold.
- Don’t overfill. About 2-3 tablespoons of filling per taco should be plenty. Too much filling makes them harder to close and adds more moisture.
- The filling shouldn’t be watery. Let it simmer until any excess liquid has cooked off before assembling. A wet filling makes it much harder for the tortillas to crisp.
- A little oil makes a big difference. Lightly oil both sides of the tortillas so they actually brown and crisp rather than simply drying out.
- Give them room. Don’t overcrowd the sheet pan. Space between the tacos allows hot air to circulate instead of trapping steam.
- Let them get golden. If the tortillas still look pale at the end of the suggested baking time, give them another few minutes.
Make Ahead, Storage and Reheating
These tacos are definitely at their crispiest straight from the oven, but you can do most of the work ahead of time and leftovers reheat surprisingly well.
- Make the filling ahead. Prepare the chicken filling up to 2 days in advance and store it in a sealed container in the refrigerator. When you’re ready for the tacos, warm the filling, then assemble and bake. I prefer waiting to fill the tortillas so they don’t absorb moisture and soften while they sit.
- Store leftovers in the refrigerator. Let leftover tacos cool completely, then store them in an airtight container in the refrigerator for up to 3 days. If you’re stacking them, place a piece of parchment paper between the layers.
- Reheat them in the oven or air fryer. Skip the microwave if you want to bring back the crispy edges. Reheat the tacos at 375°F in the oven until hot and crisp, or pop them in the air fryer for a few minutes. Keep an eye on them since they can brown quickly the second time around.
Other Taco Recipes To Try
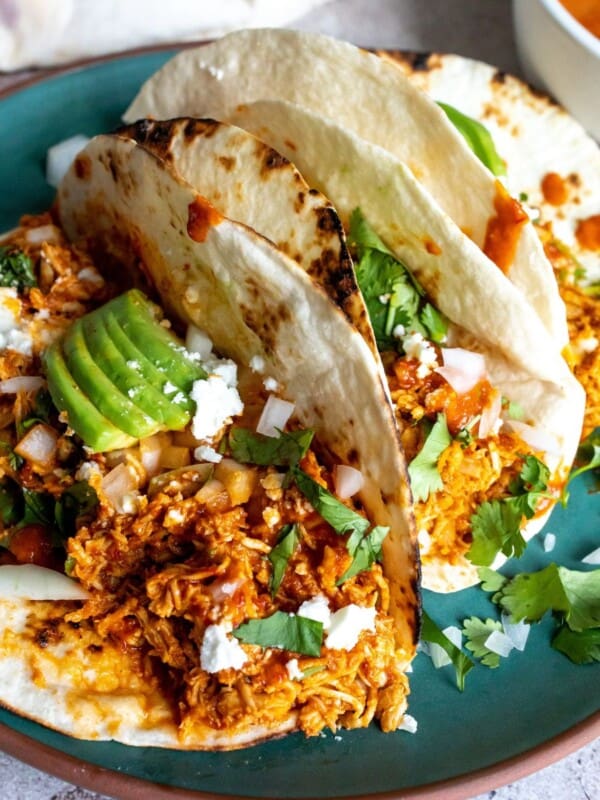
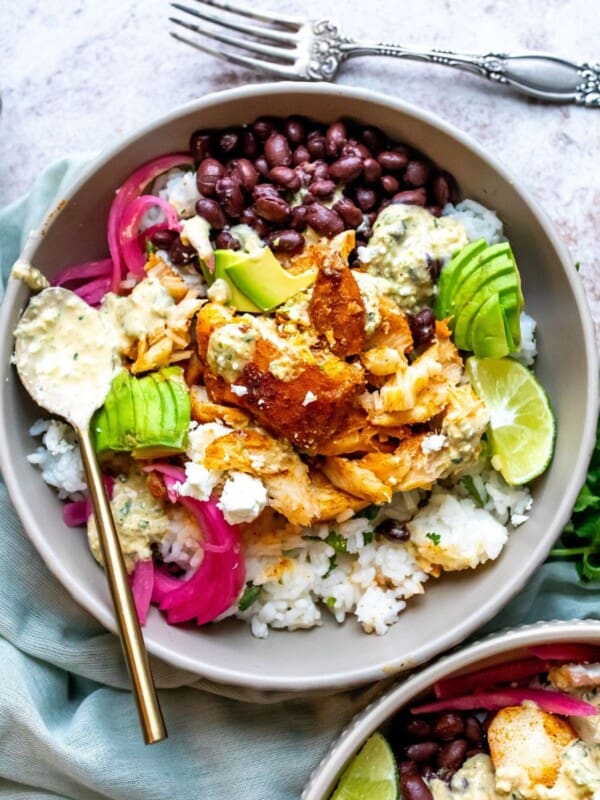
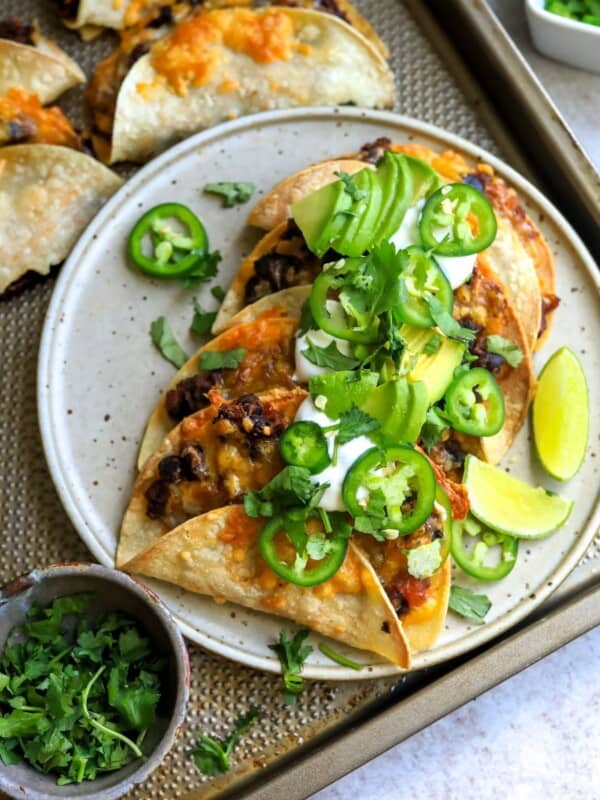
If you loved this recipe let me know! Also, follow me on Instagram & Pinterest for even more fun recipes to make you feel good from the inside out. Thanks for being here.

Crispy Chicken Tacos
Equipment
- baking sheet
- skillet
Ingredients
- 3½ cups shredded chicken , *rotisserie or homemade
- 1 tbsp olive oil
- 1 small white onion, diced
- 3 garlic cloves, minced
- 1 cup corn kernels
- 1 15 oz canned black beans, drained
- ¼ tsp salt
- ¼ tsp cracked pepper
- ½ tsp cumin
- ½ tsp paprika
- ¼ tsp cayenne pepper
- 1¼ cup salsa verde, use more as needed
- ⅓ cup cream cheese
- ¾ cup shredded cheese
- 8-16 fresh corn tortillas , flour will also work
- 3 tbsp cilantro, chopped , for garnish
Instructions
- Preheat oven to 400º Heat the oil in a skillet and add chopped onions. Sauté the onions for about 3 minutes, add in the garlic, seasoning, thawed corn, black beans and chicken. Sauté for another 4 minutes and then add in the salsa verde.
- Bring the chicken mixture to temperature on a low simmer. Add in the cream cheese and stir it in well. Once the cream cheese is nice and melted into the mixture, turn off the heat.
- Wrap the corn tortillas (6-8 at a time) in a damp paper towel on a plate and microwave them for 45 seconds. While they are hot, spray with a little oil one at a time, place 3-4 tbsp of the chicken mixture on one side of the tortilla. Add a pinch or two of cheese to the top of the mixture. Fold the tortilla in half and gently press it down. Place the tacos into the oven for about 10-15 minutes or until the exterior of the tortillas are lightly browned and crispy with cheeses melted.
- Use a spatula to lift tacos to a plate, add garnish and toppings of choice and enjoy immediately or place in the microwave on a plate to keep warm if you have to make a second batch. Enjoy!
Notes
- Use fresh corn tortillas. Older tortillas crack more easily. Warm them until hot and pliable before filling.
- Don’t overfill. About 2–3 tablespoons of filling per taco makes them easier to fold and crisp.
- Keep the filling thick. Let any excess liquid cook off before assembling to prevent soggy tacos.
- Use a little oil. Lightly coating the tortillas helps them turn golden and crispy.
- Let the cheese get crispy. If a little cheese oozes out while baking, even better!
- Storage: Refrigerate leftovers for up to 3 days. Reheat in the oven or air fryer for the best texture.
Nutrition
Nutrition information is automatically calculated, so should only be used as an approximation.

Made these last night and HOLY MOLY they were better than expected. We can’t wait for he leftovers tonight.
Made these for our holiday party with friends. Huge hit! Everyone was obsessed and wanted the recipe.
These were really good, I have never made tacos this way, so I was very surprised and delighted
help looks amazing NO microwave …what can i do instead>>>??
No problem! You can just be sure to buy super fresh tortillas or warm them lightly on a grill or in a pan them in-between a wet paper towel before filling and folding to help prevent cracking.
Delish but holy sodium!!
Hi Adam, unfortunately that’s due to the store bought rotisserie chicken, they typically have lots of sodium. If you would like to cut the sodium down by a huge chunk, simply make your own shredded chicken breasts as the recipe recommends. Thanks!
This was the best recipe I’ve tried in a long time!!! My family and I loved it!! Can’t wait to share it with friends!!!!
I am so flattered 🥹 thank you for letting me know !!
What do you recommend for making your own shredded chicken? Baked or boil?
Hi Megan! I would definitely bake chicken breasts if you’d like to make your own. I typically start out seeing them in a skillet and then finishing them off in the oven for the ultimate chicken.
How do you get them from not cracking or sticking to the sheet pan?
Hi Mary! Try wrapping them in a very wet paper towel and microwaving for 30 -1 min, make sure you oil them on both side, and another tip is to put the cheese on the half side of the tortilla and it laying on the baking sheet, so the chicken topping is over it, it keeps it closed better.
Have you ever substituted the corn for flour tortillas and how did they turn out?
I have! They don’t get quite as crispy, so I prefer corn for this particular one. i would suggest a toothpick to help keep them closed as well. I hope you enjoy th!
Seriously. Best recipe ever. We’ve made this at least 10 times in the last 3 months. If we tell our college kids that we are making them, they will come for dinner almost every time! The ones who don’t come are bummed. 🤣 We grill them on our Blackstone. Fast, crispy and delicious! Thanks for changing the taco game at our house!
This means the world to me! I am so thrilled to hear it. I will try making them on the grill, great idea. Happy cooking Lori!
Absolutely delicious. One of the best recipes I’ve ever tried. Thank you!!
What an honor! I am so happy you enjoyed it.
What is the serving size?? I am tracking my macros religiously!
Hi Heidi, about 2 tacos per serving depending on how much you stuff them with the chicken filling 🙂 xoxoxo Happy eating.
Delicious and easy to make
These look so good and I want to make them – but have never tried salsa verde. What brand(s) do you recommend? 🙂
Any brand is usually delicious, but I do love Safeway Select brand salsa verde the most! Newmans Own also makes a tasty one found at Walmart and most retailers :). Happy Eating!
These were amazing! Definitely going into the rotation.
So happy to hear this! We love them too 🙂
Even my three boys loved these! I had to use shredded chuck roast that I had slow-cooked the day before and I accidentally bought green enchilada sauce but they were perfect! (I can’t believe I did that!)
Hi, a question — when you say to spray the corn tortillas with a little oil when they are warm, do you mean outside or the inside or both? thanks in advance! The recipe looks great and I’m making it tonight!
Hi Barb! Great question, I would spray both sides, if they are older tortillas they can tend to crack easily so warming them and then oil helps a lot. Enjoy!
I made these for my family and they were so easy and so good! Will be making these again.
Seriously a new family favorite. We love them SO much! We love making a huge batch and reheating the next day. They disappear fast! We have been crisping these on the Blackstone. Restaurant quality for sure!
Hi Lori!
Thanks so much for the great feedback, thrilled to hear you enjoy them as much as we do! I will try it on the Blackstone this is a great idea.
Followed recipe to the letter but found that 24 ounces of salsa verde was way too much and subsequently made the taco filling very loose. Flavor was still delicious but next time I will add much less salsa.
Hi Jeff, we had the same issue! That amount of salsa verde was way too much. We thought it must have been a typo, as 3oz would have been enough but the recipe called for 24oz ?!?
Hi Lauren! We have made this recipe several times with great success and others have as well following the amount of salsa, I think it depends on if you are using a chunky version or a well blended, more watery version. I updated the recipe a bit to reflect different amounts just in case others have an issue 🙂
I saw your post on Instagram yesterday. I went to the store and made these today. DELICIOUS! Ready for leftovers! Thank you!
Is there a way to do this if you don’t have a microwave?
My boyfriend and I absolutely love this recipe! I make it every time we go on vacation as an extra treat and it makes our trip and night! Thank you for another wonderful recipe! Yum!
Hi Jessica,
I am so happy to hear, this makes me happy! Thanks for the feedback.