
This post may contain affiliate links.
If you’re looking for a quick dinner that’s packed with flavor, these blackened shrimp are hard to beat. A homemade blackening seasoning creates a perfectly crisp, smoky crust while keeping the shrimp juicy and tender. You will want to save this recipe and whip up shrimp for guests and family. I love to pair it with something a little sweet to cool things down.
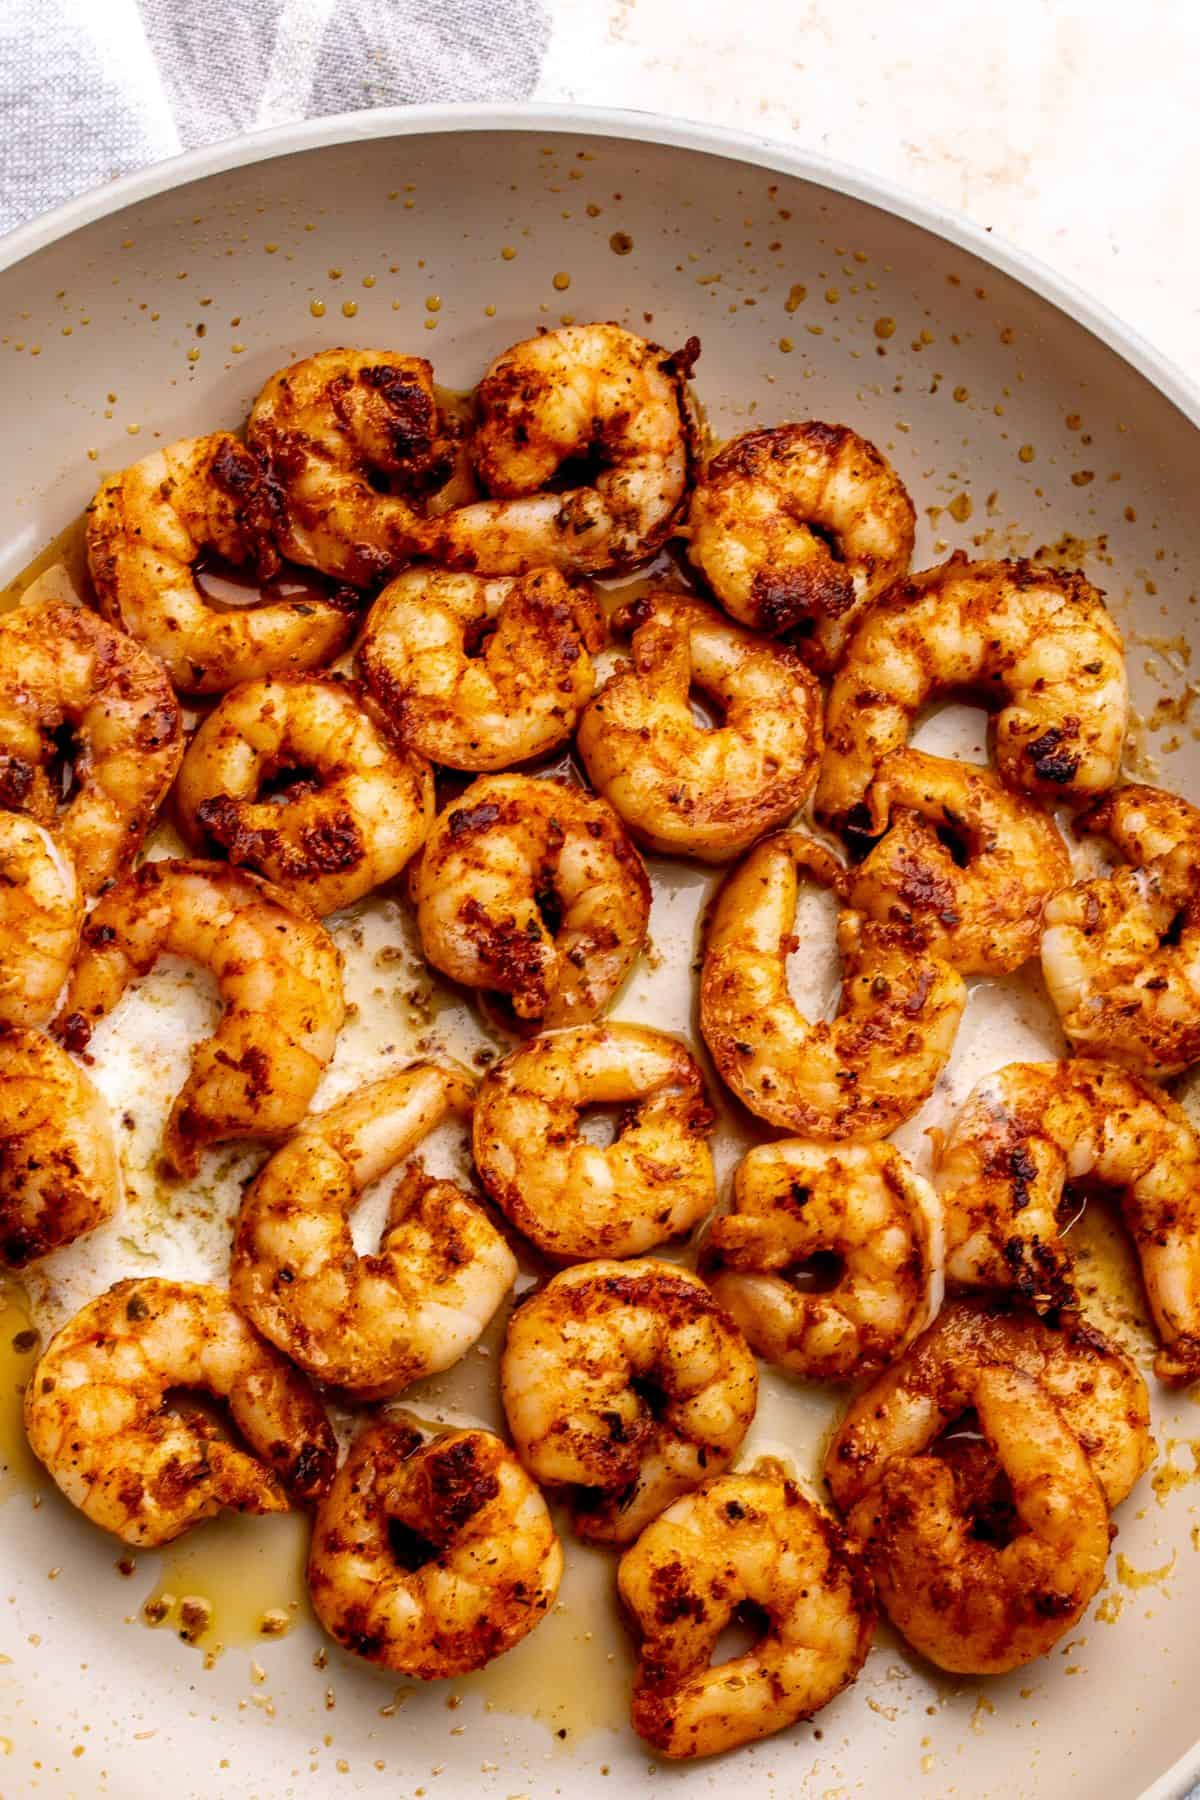
Why Make Blackened Shrimp Shine
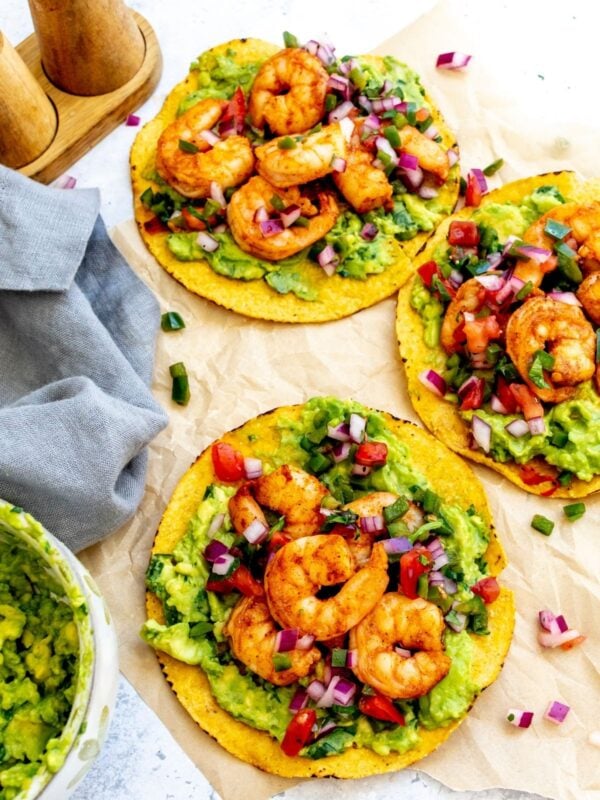
The smoky seasonings used make for a spicy, complex flavor that I crave! They go with so many side dishes and there are endless ways to pair these shrimps. They’re versatile, making them perfect for rice bowls, pasta, tacos, salads, or served on their own with a squeeze of fresh lemon. Best of all, they’re ready in just minutes, making them an easy weeknight favorite. The seasonings that you can really taste are the paprika, cayenne pepper and black pepper.
Ingredients For This Recipe
A few notes about the ingredients that make the biggest difference in this recipe. The full list of ingredients and measurements can be found in the recipe card below.
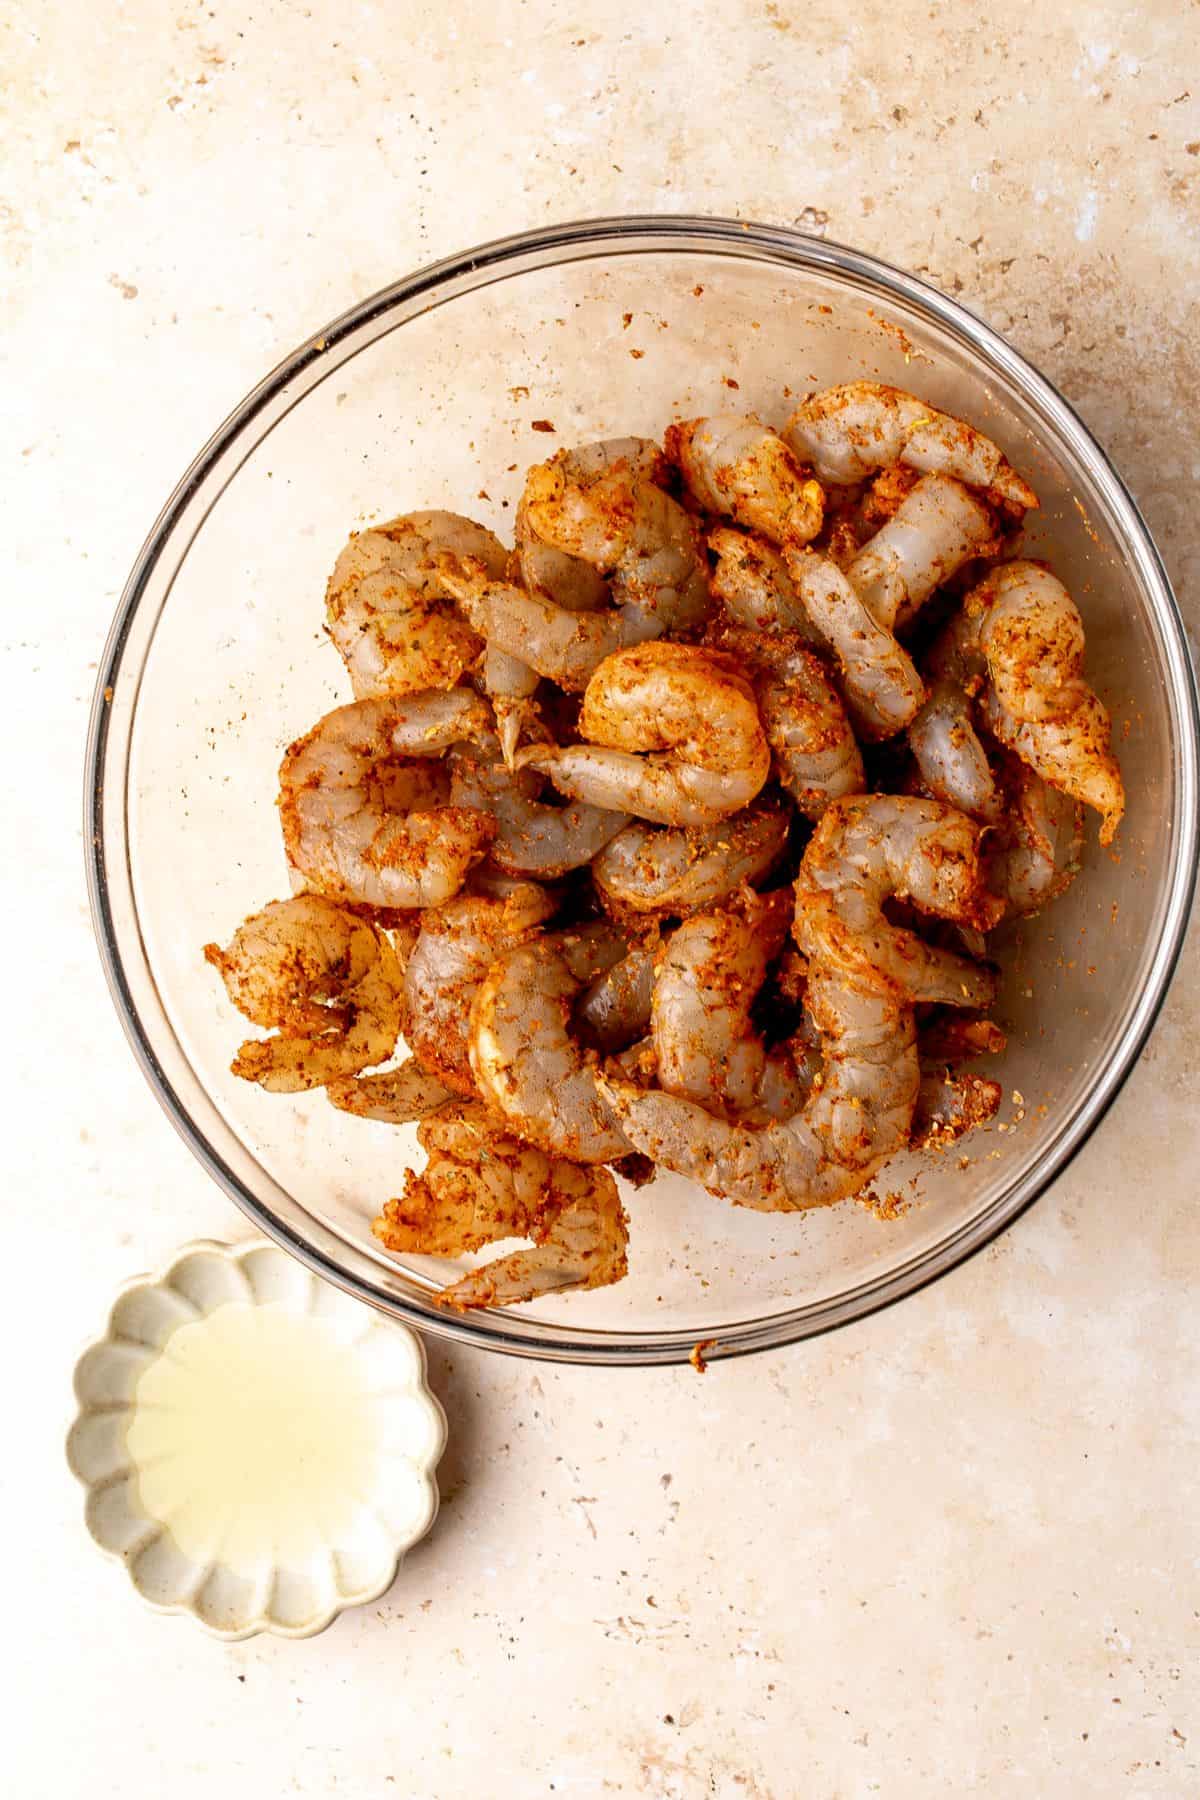
- Spices. Paprika, Garlic, Onion powder, Cayenne Pepper, Salt, Black Pepper, Oregano
- Shrimp. Fresh always tastes best but it can be pricy. You can also use frozen/thawed. Just give it a quick rinse with cold water in a mesh strainer to thaw.
- Oil Or Butter. this is to help make the shrimp more rich in flavor.
How To Make Blackened Shrimp
Step one. Mix up all the spices in a small bowl. Prepare the shrimp (cleaning fresh shrimp) or defrosting the frozen shrimp by running it under water with a mesh strainer.Place shrimp into a large bowl.
Step Two. Add the seasoning to the shrimp and mix well. Place a skillet in the stove on medium/high heat. Spritz the pan lightly with cooking spray. Place the shrimp in while it’s hot. Cook the shrimp for about 2 minutes on one side without touching (this helps create the blackened look).
Step Three. Turn off the heat, flip the shrimp and let them continue to cook for another minute or two with the stovetop off. Add in 1 Tbsp of butter (optional) and serve.
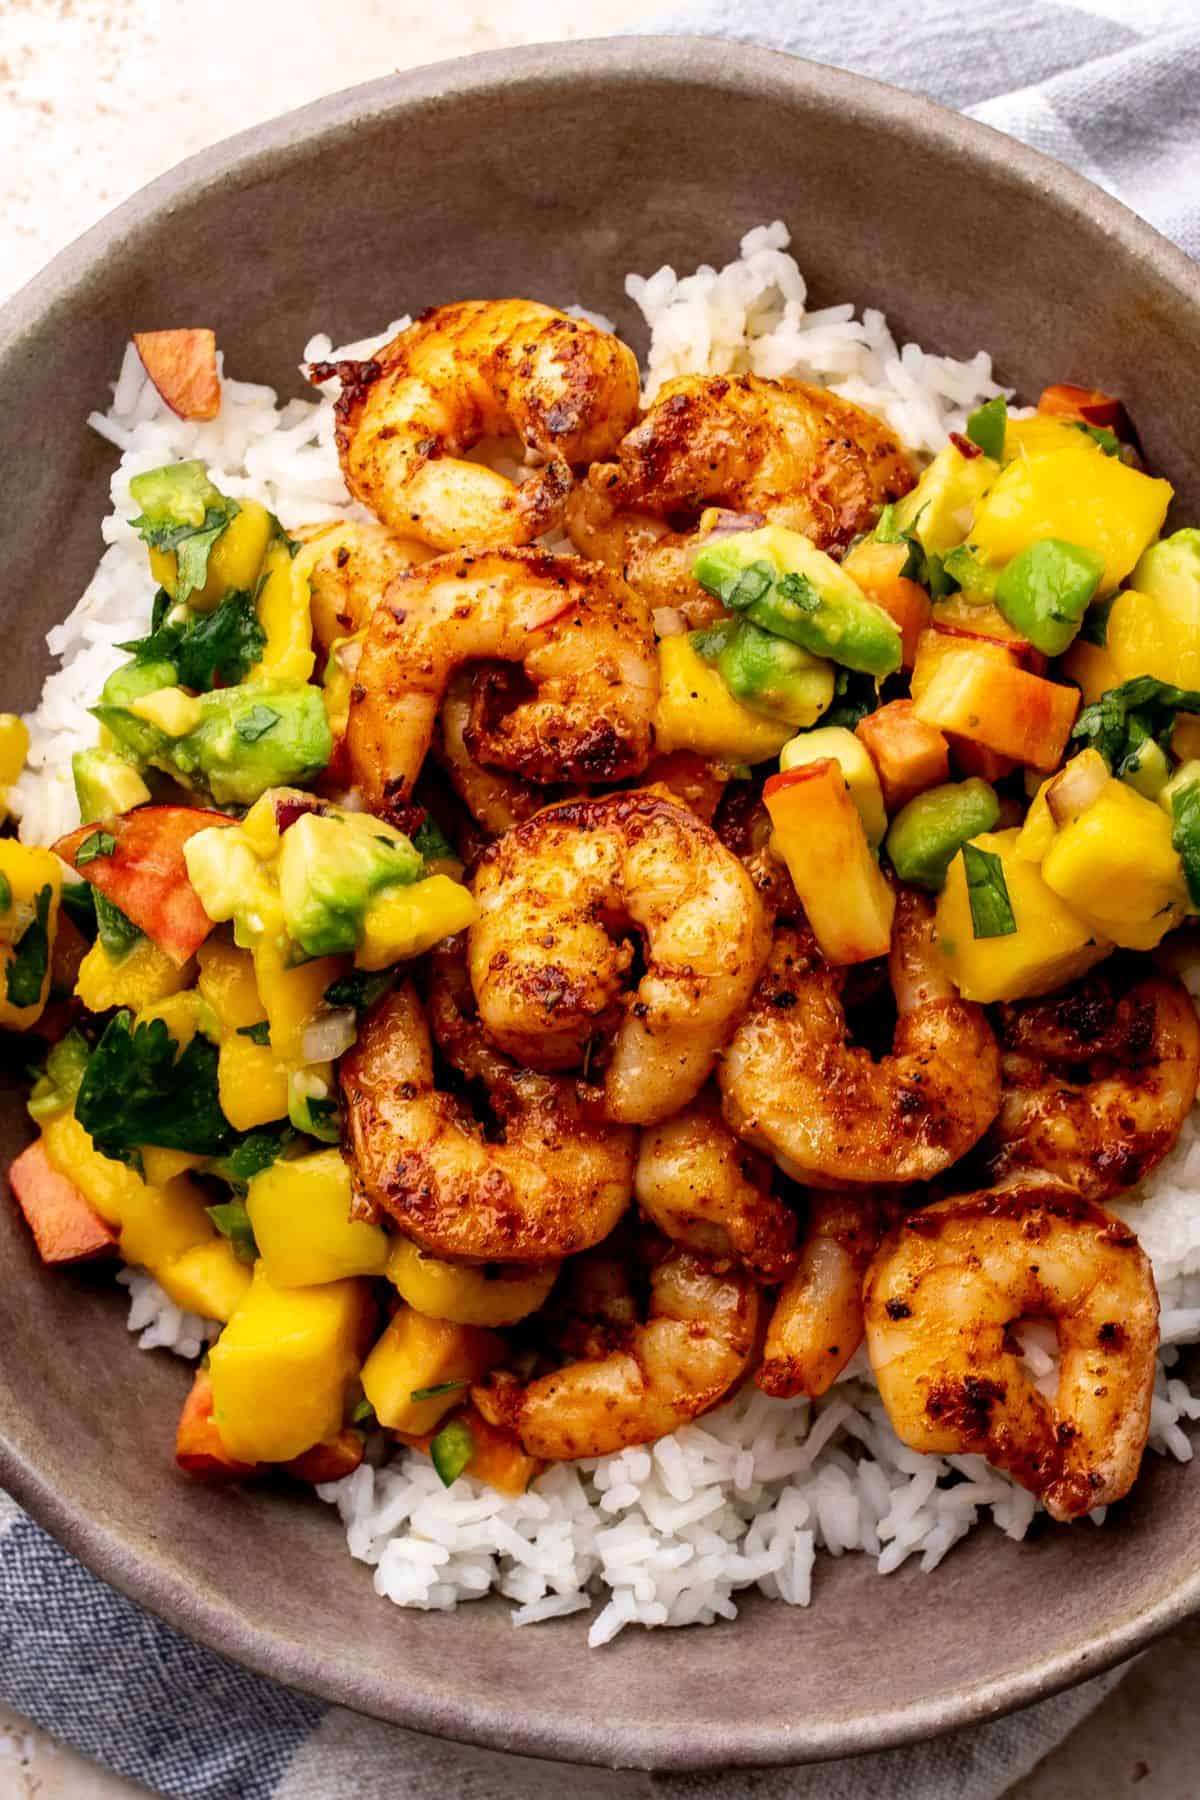
What To Pair With Blackened Shrimp
- Coleslaw or Deviled Egg Potato Salad
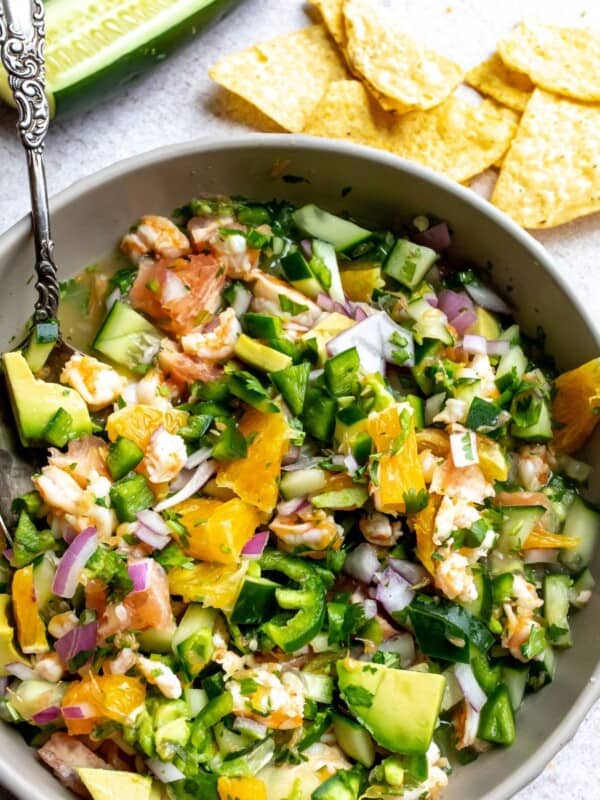
- Mango Avocado Salsa (Pictured above!) Pico De Gallo, any fruit salsas work great.
- You can also serve it over rice with avocado to keep things simple. These shrimp just elevate any meal and the family will love them.
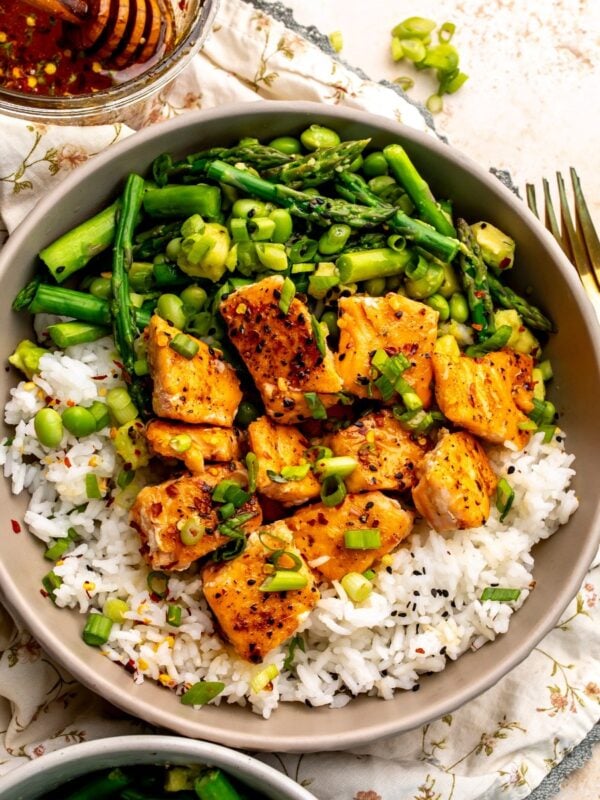
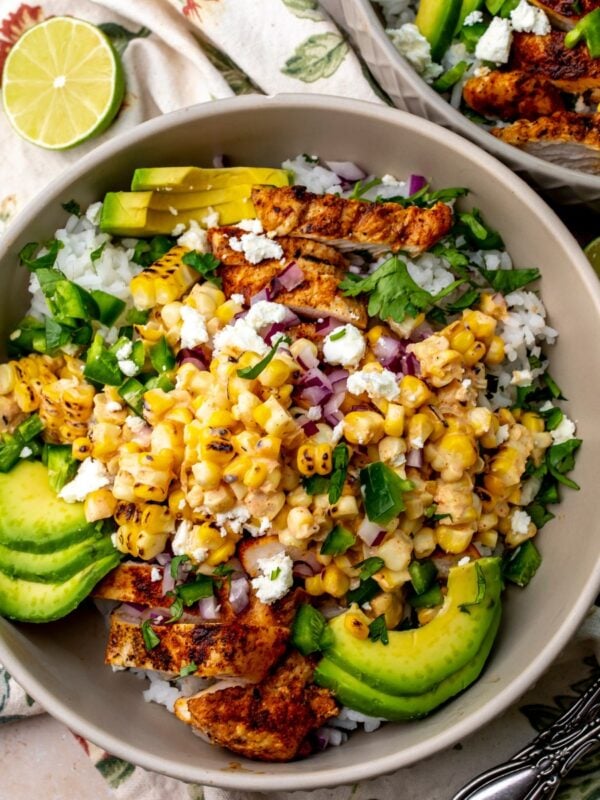
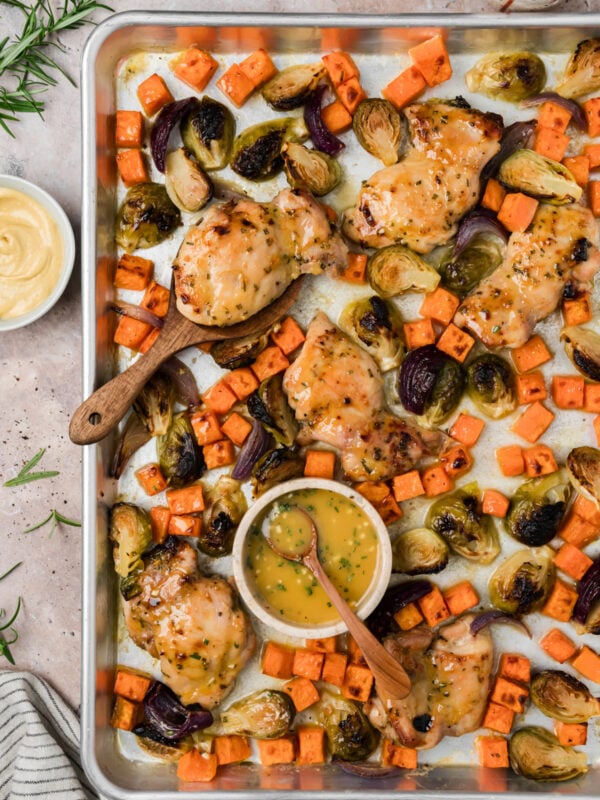
Other Fresh Meals To Try

If you loved this recipe let me know! Also, follow me on Instagram & Pinterest for even more fun recipes to make you feel good from the inside out. Thanks for being here.

Blackened Shrimp
Equipment
- skillet to cook shrimp
Ingredients
- 1½ lb shrimp, uncooked fresh or frozen (cooking times will vary)
- 1 tsp smoked paprika
- ½ tsp each salt & pepper
- 1 tsp onion powder
- 2 tsp garlic powder
- 1 tsp dried oregano
- ½ tsp cayenne pepper, use less or more as needed
Instructions
- Mix up all the spices in a small bowl. Prepare the shrimp (cleaning fresh shrimp) or defrosting the frozen shrimp by running it under water with a mesh strainer. Place shrimp into a large bowl.
- Add the seasoning to the shrimp and mix well. Place a skillet in the stove on medium/high heat. Spritz the pan lightly with cooking spray. Place the shrimp in while it's hot. Cook the shrimp for about 2 minutes on one side without touching (this helps create the blackened look).
- Turn off the heat, flip the shrimp and let them continue to cook for another minute or two with the stovetop off. Add in 1 Tbsp of butter (optional) and serve.
Notes
- Serve with tacos, as fajitas, over lettuce, pasta or with rice and veggies. I served mine with rice and Mango Salsa.
- Don’t over cook the shrimp! They just take 4 minutes total to cook.
- Adjust the spice as needed for those picky eaters.
- Store in the fridge for 2 days, I would not freeze leftovers.
Nutrition
Nutrition information is automatically calculated, so should only be used as an approximation.


Found this on pinterest. Love that it’s not overly spicy like the others out there. Very easy to put together.
So happy to hear that!
I tried this recipe and it turned out really good. Thanks for the recipe.